Register an XNAT OIDC Service
Last updated: 11 April 2025
Enable AAF as Authentication Provider
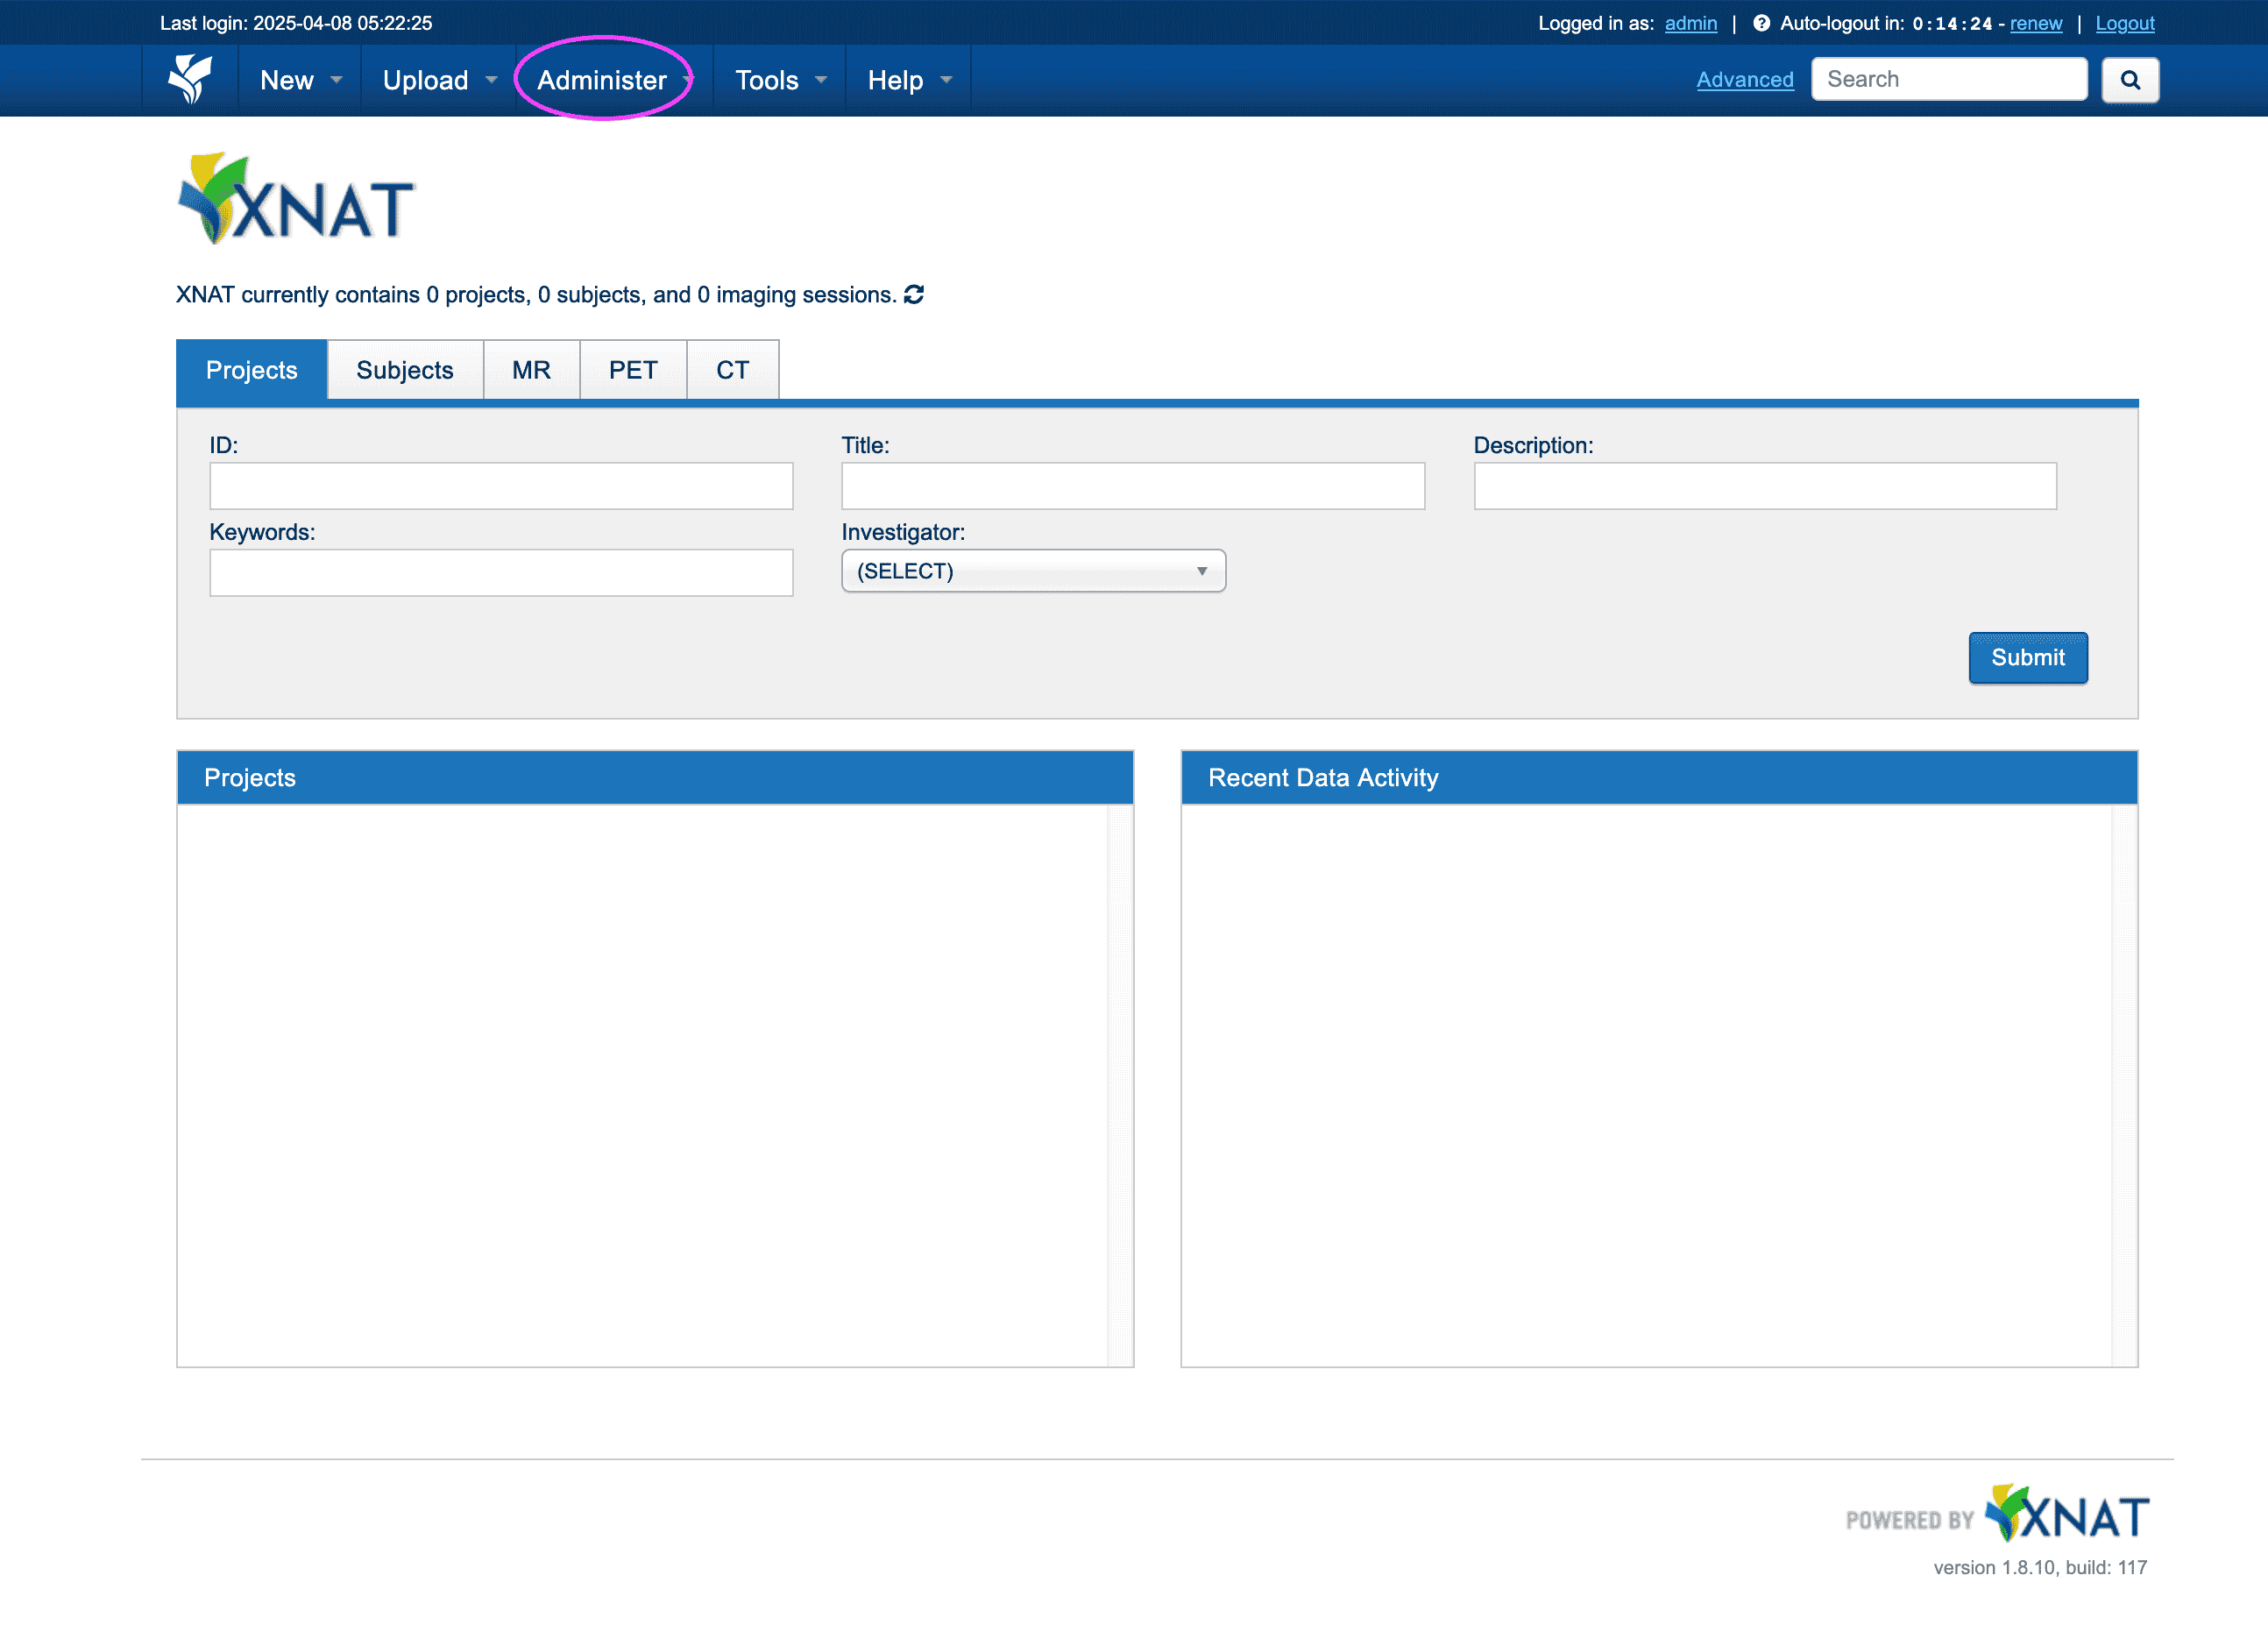
- Once you are signed in as the admin user in your XNAT application, click on the Administer tab in the top menu bar followed by Site Administration -> Security (located in Site Settings).
Once on the Security page, scroll down to the User Authentication Settings section and add aaf to the
Enabled Authentication Providers list. This will enable the AAF authentication provider.
Note: the authentication providers need to be separated by commas if there are more than one.

-
Click on the Save button to save the changes.
-
Log out of the XNAT instance. You will now see the Sign in with AAF button on the login page.
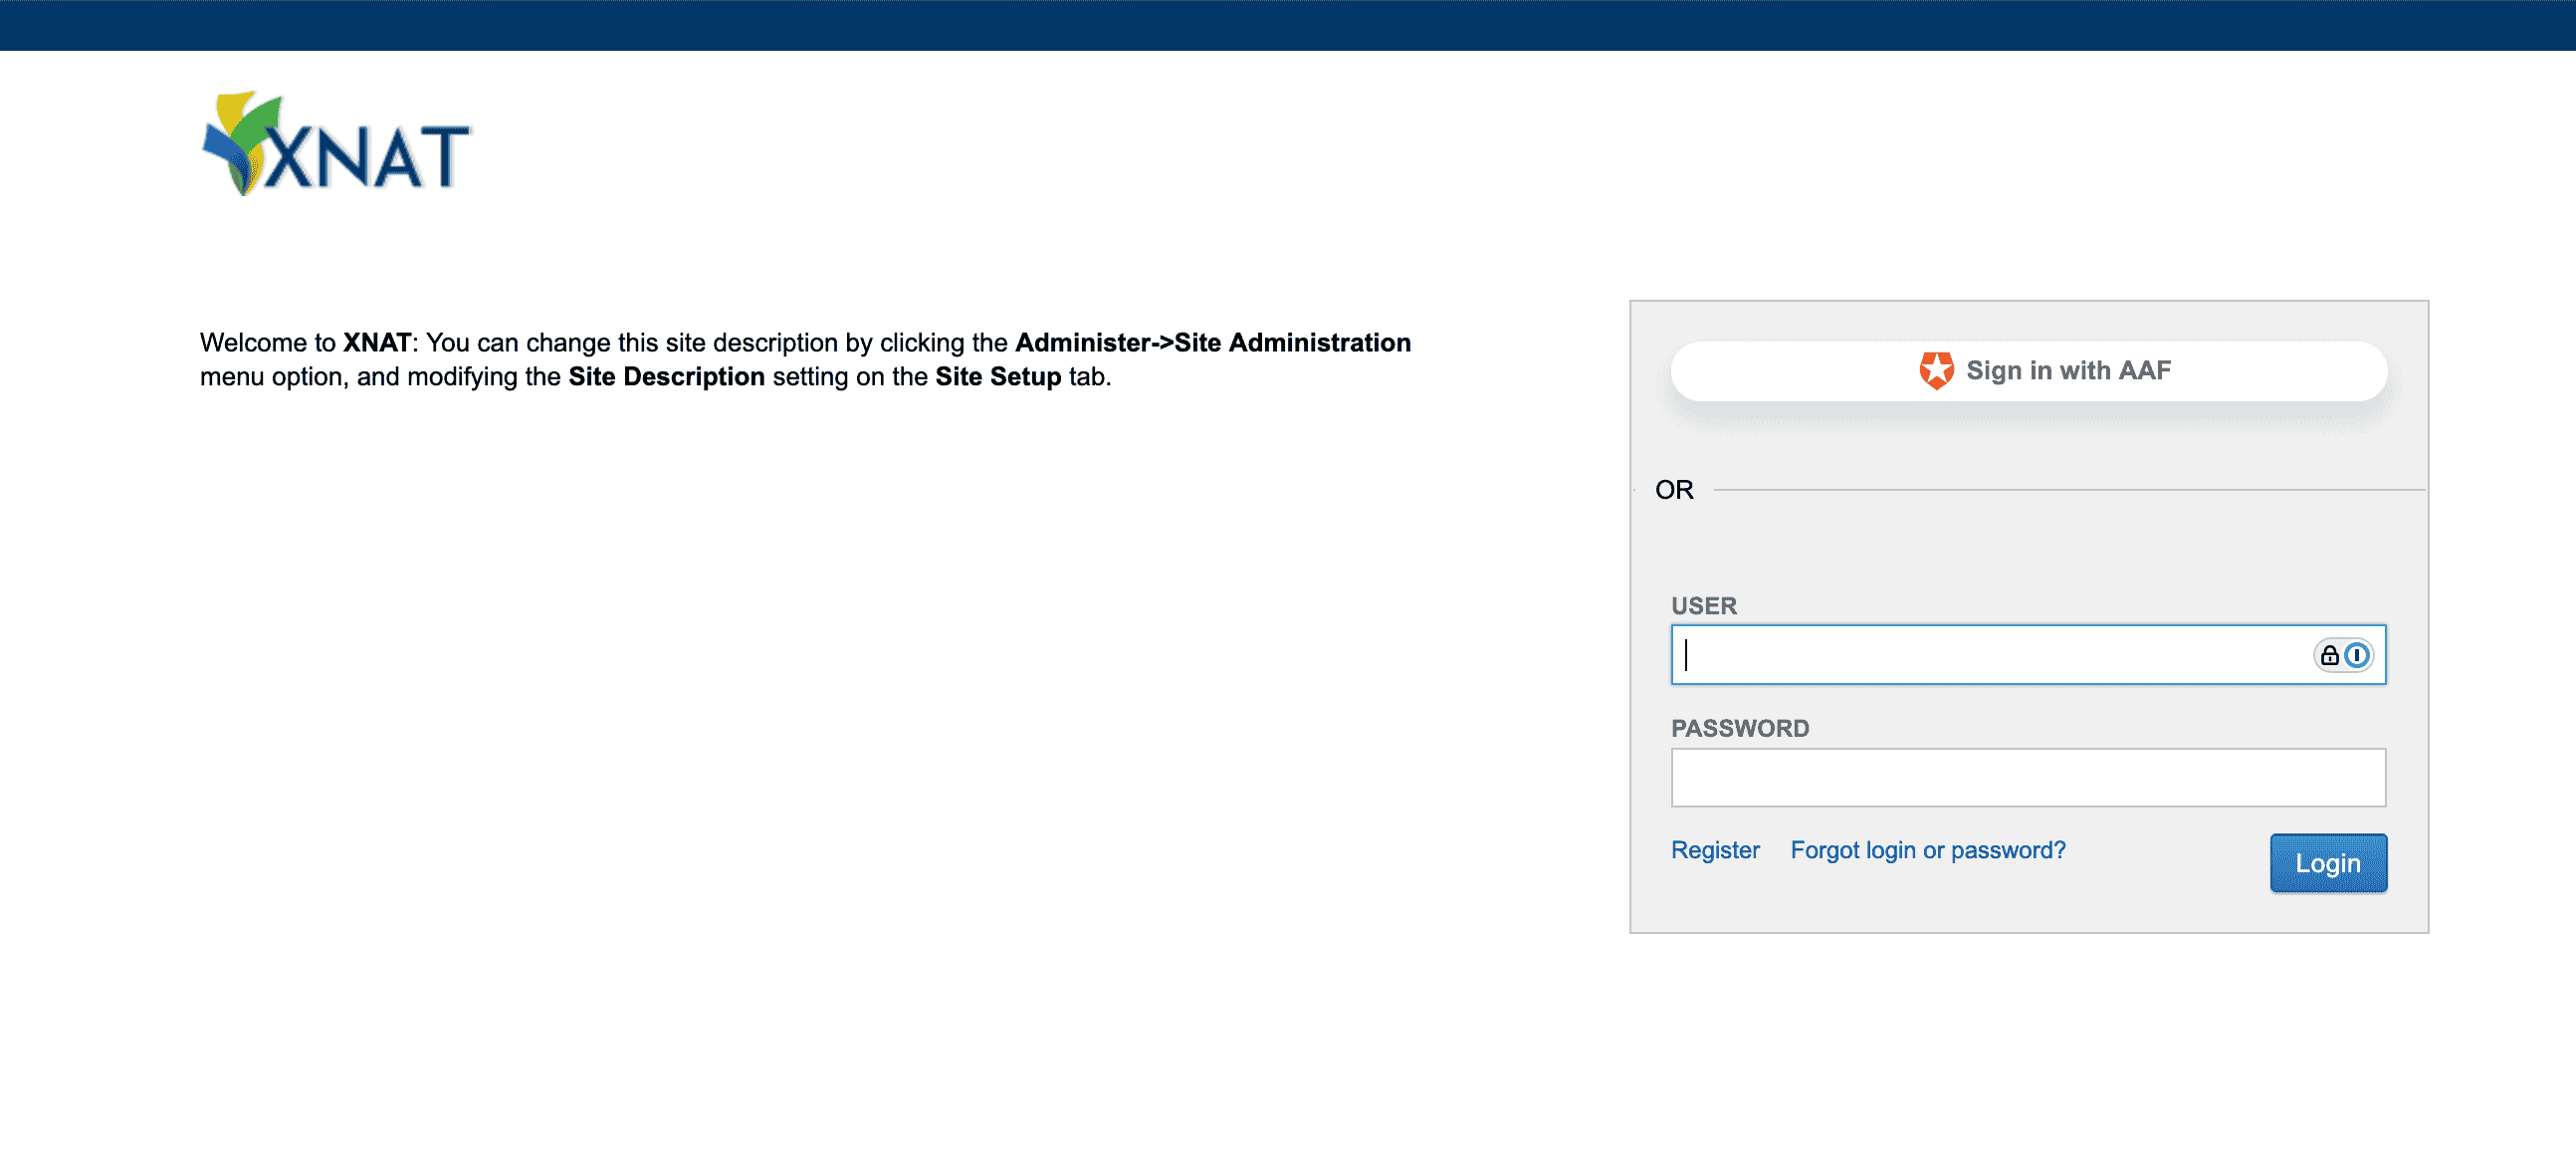
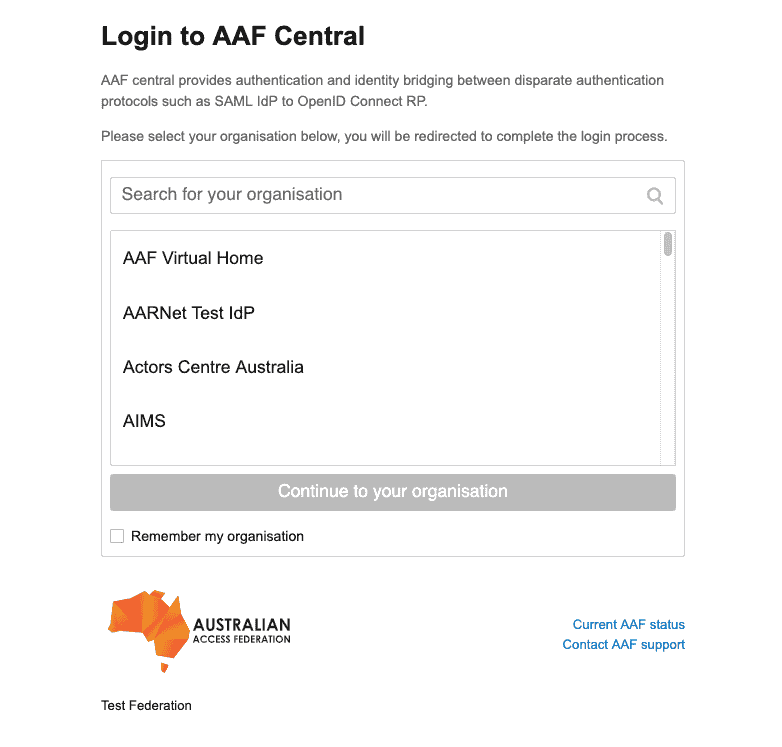
- Click on the Sign in with AAF button. This will redirect you to the AAF login page where you can authenticate with your organisation credentials.
Tutorial Complete!
You have completed this tutorial. Continue with the other tutorials in the Series or return to the tutorials home page.
Return Home