Connect with Keycloak
Add an identity provider
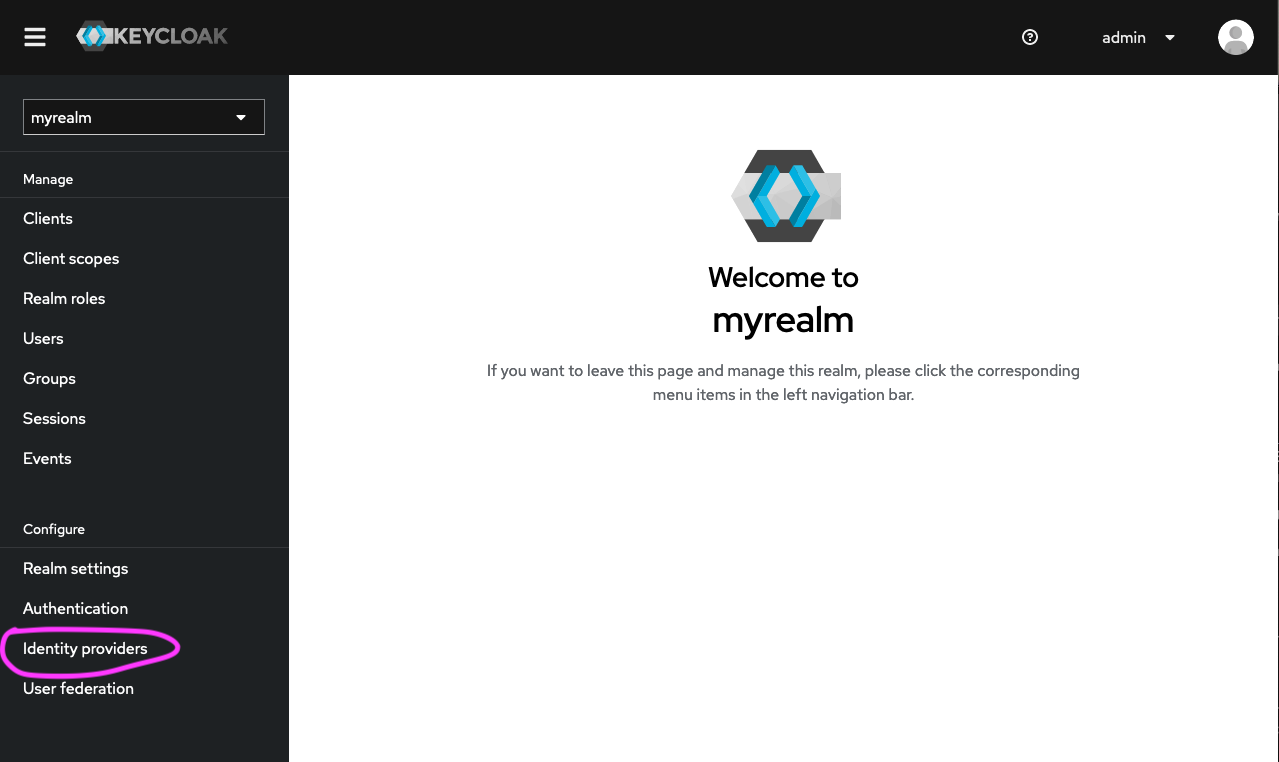
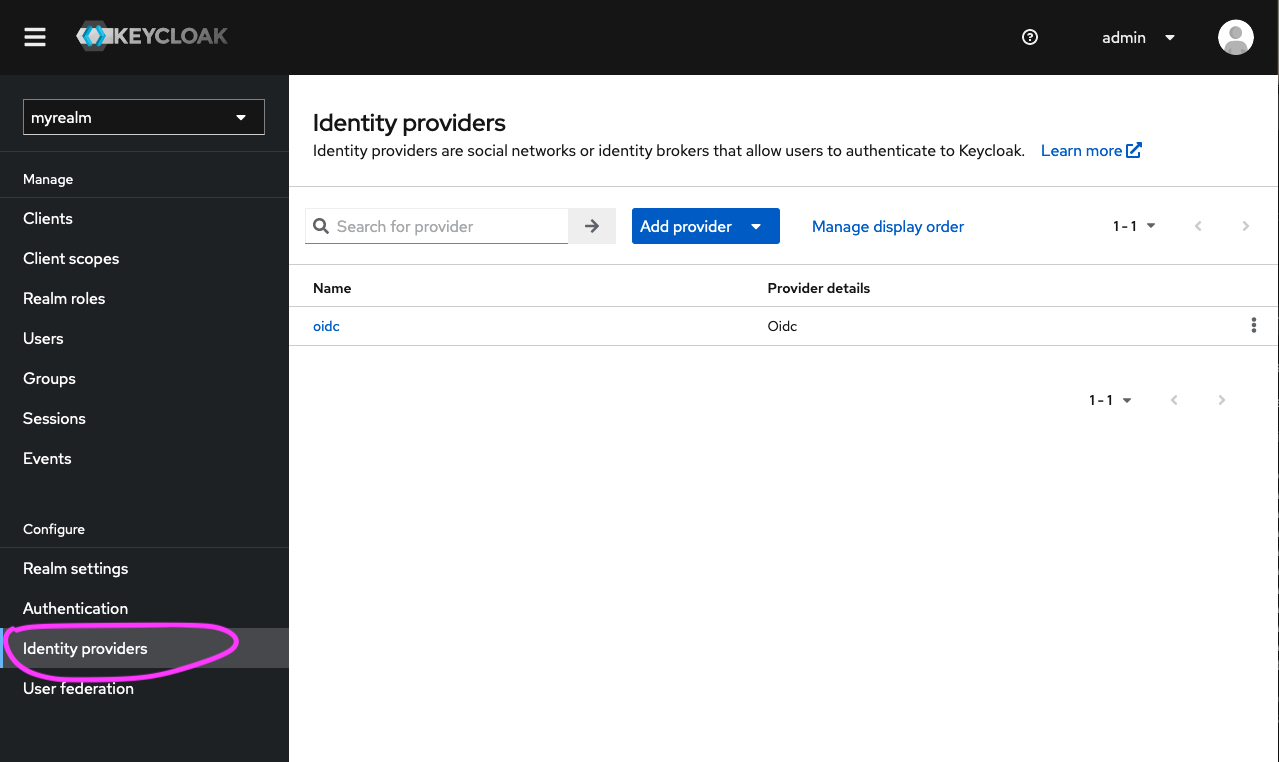
- Once in the selected realm (in this example, it is ‘myrealm’), click on ‘Identity providers’ (at the bottom of the left hand menu bar).
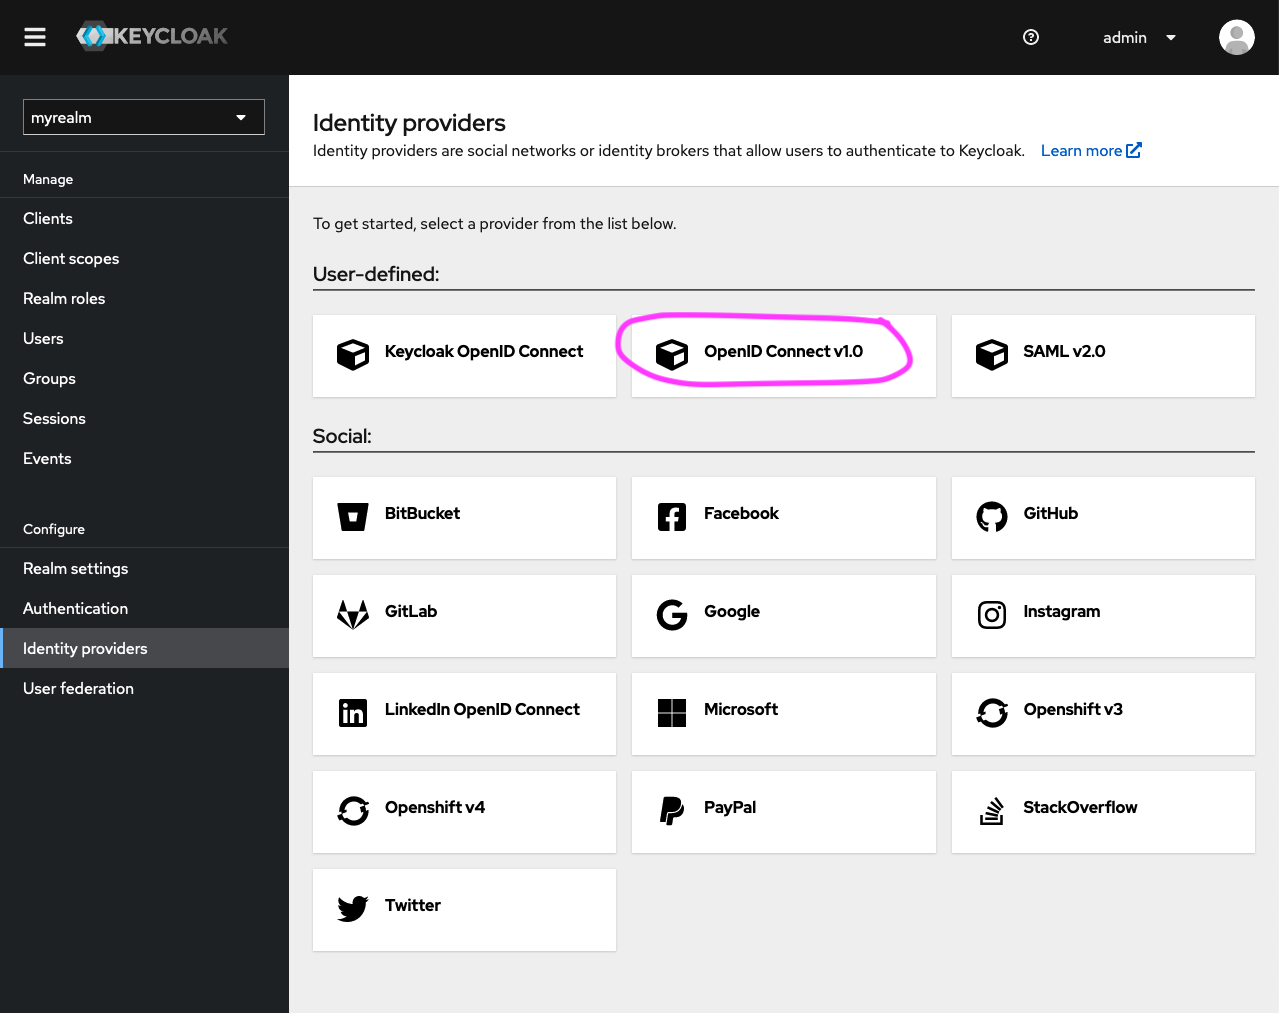
- Click on ‘OpenID Connect v1.0’ in the ‘User-defined’ section. This is the open protocol standard that AAF uses to authenticate users in this instance.
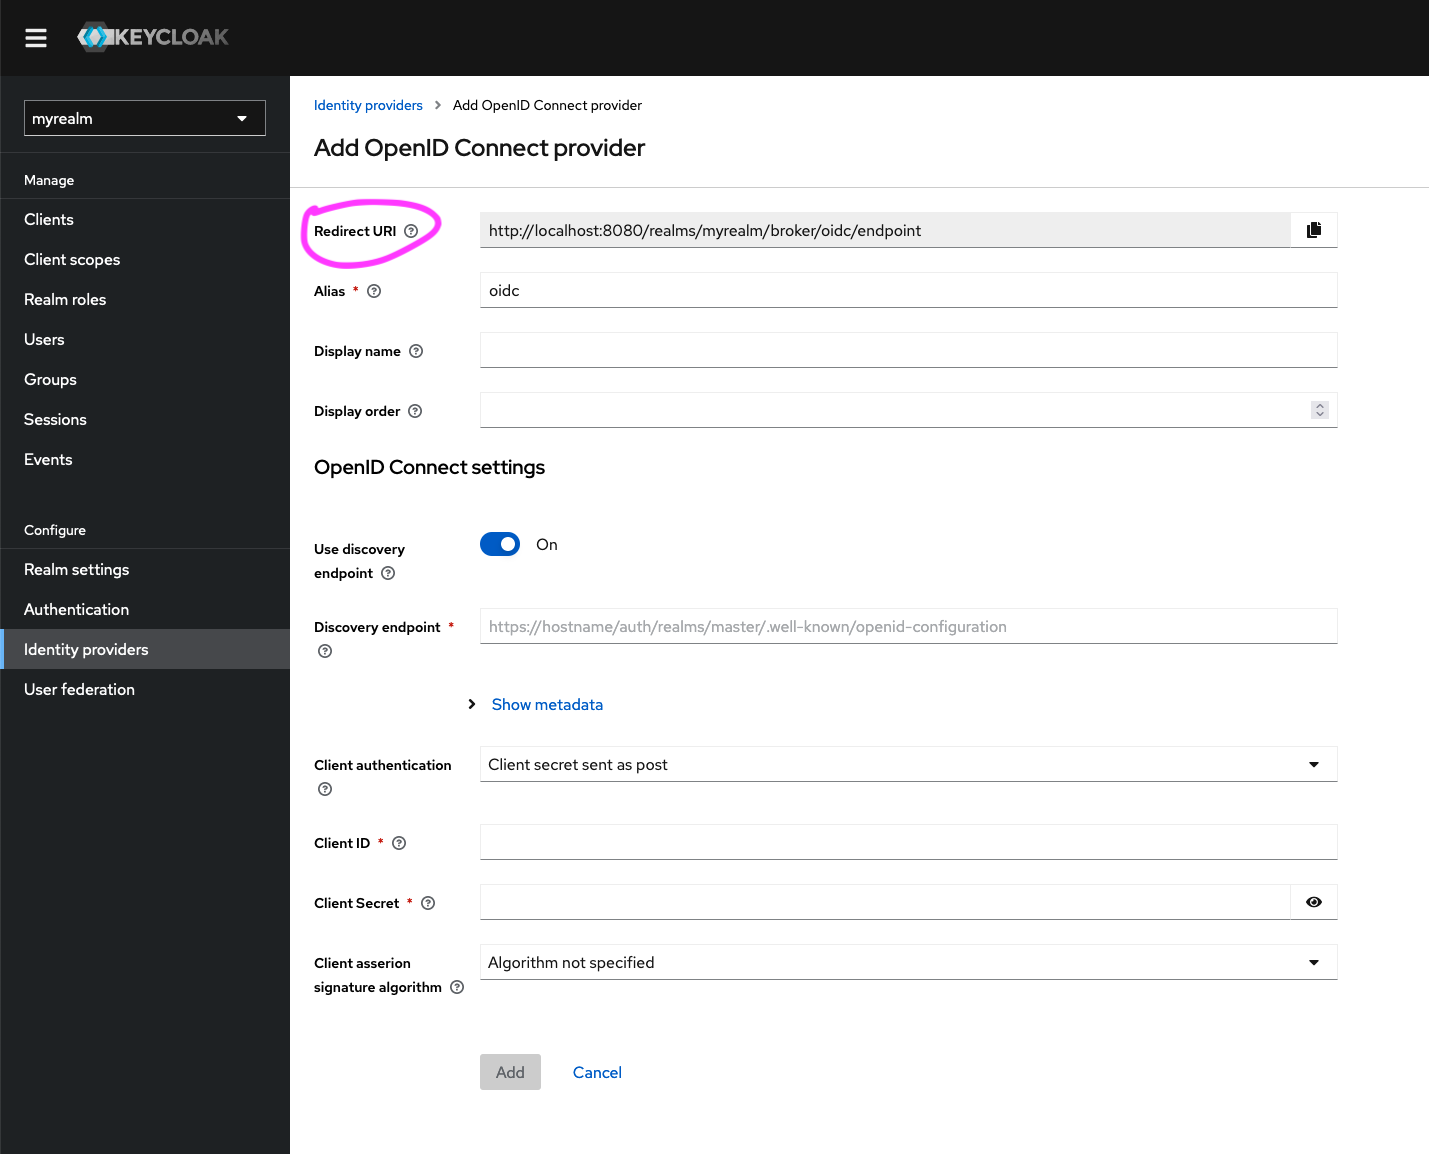
- In the ‘Add OpenID Connect provider’ section, copy the value of the
Redirect URIfield to your clipboard.
- In a separate browser tab, register a new OIDC service in Federation Manager (Test).
Keep the Keycloak admin console page open as you will need to enter the Client ID and Client Secret field values provided by Federation Manager into Keycloak.
- On the ‘Register a New Service’ page (for OpenID Connect) in Federation Manager, paste the
Redirect URIvalue obtained from Keycloak into theRedirect URLfield.
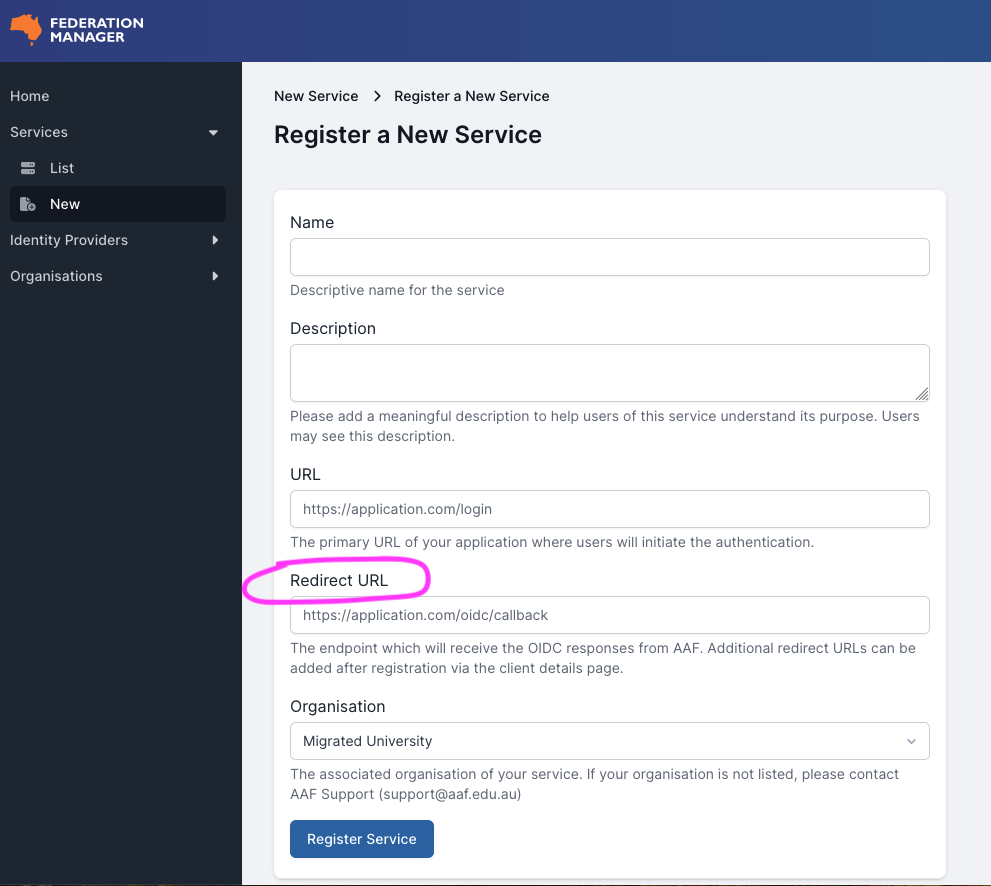
- Once you click ‘Register Service’ you will receive an ‘Identifier’ and a ‘Secret’ from Federation Manager (Test).
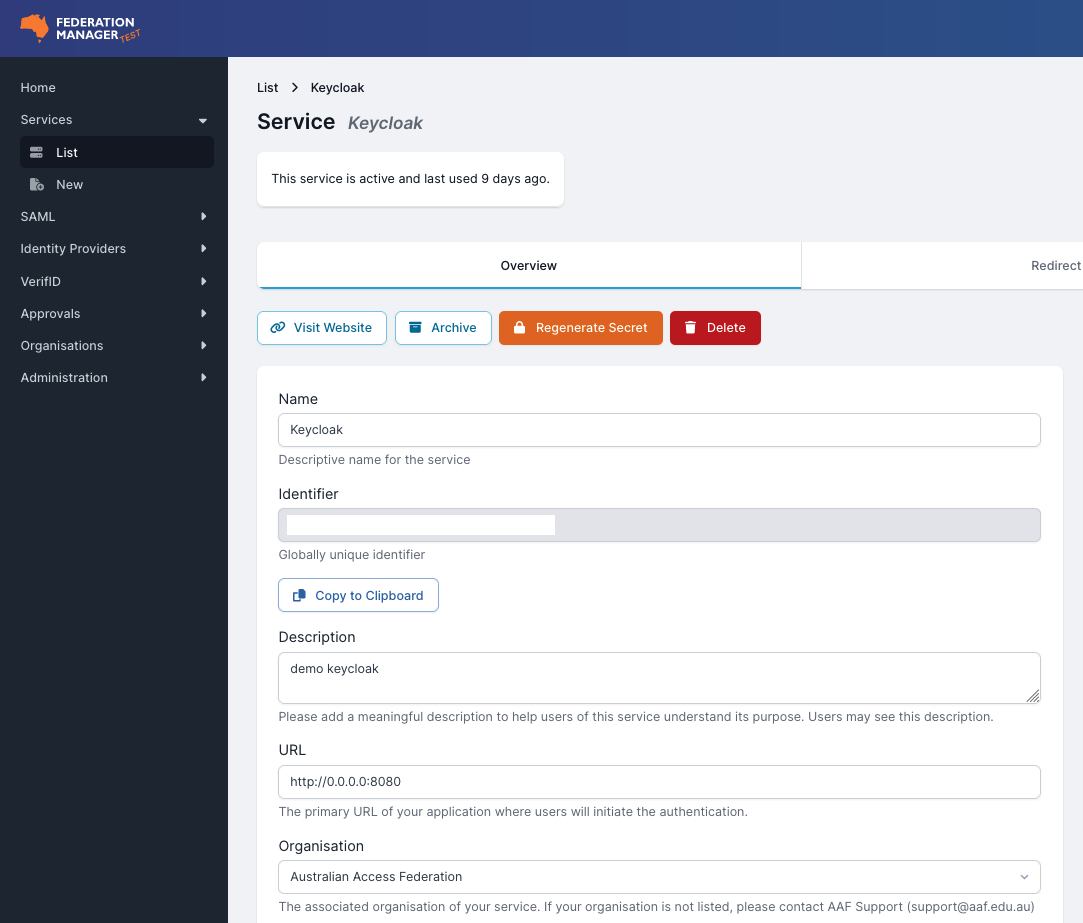
- Copy these items to your clipboard and head back over to Keycloak.
- Paste these items into the
Client IDandClient Secretfields, respectively, within the ‘OpenID Connect settings’ section of the Keycloak console.
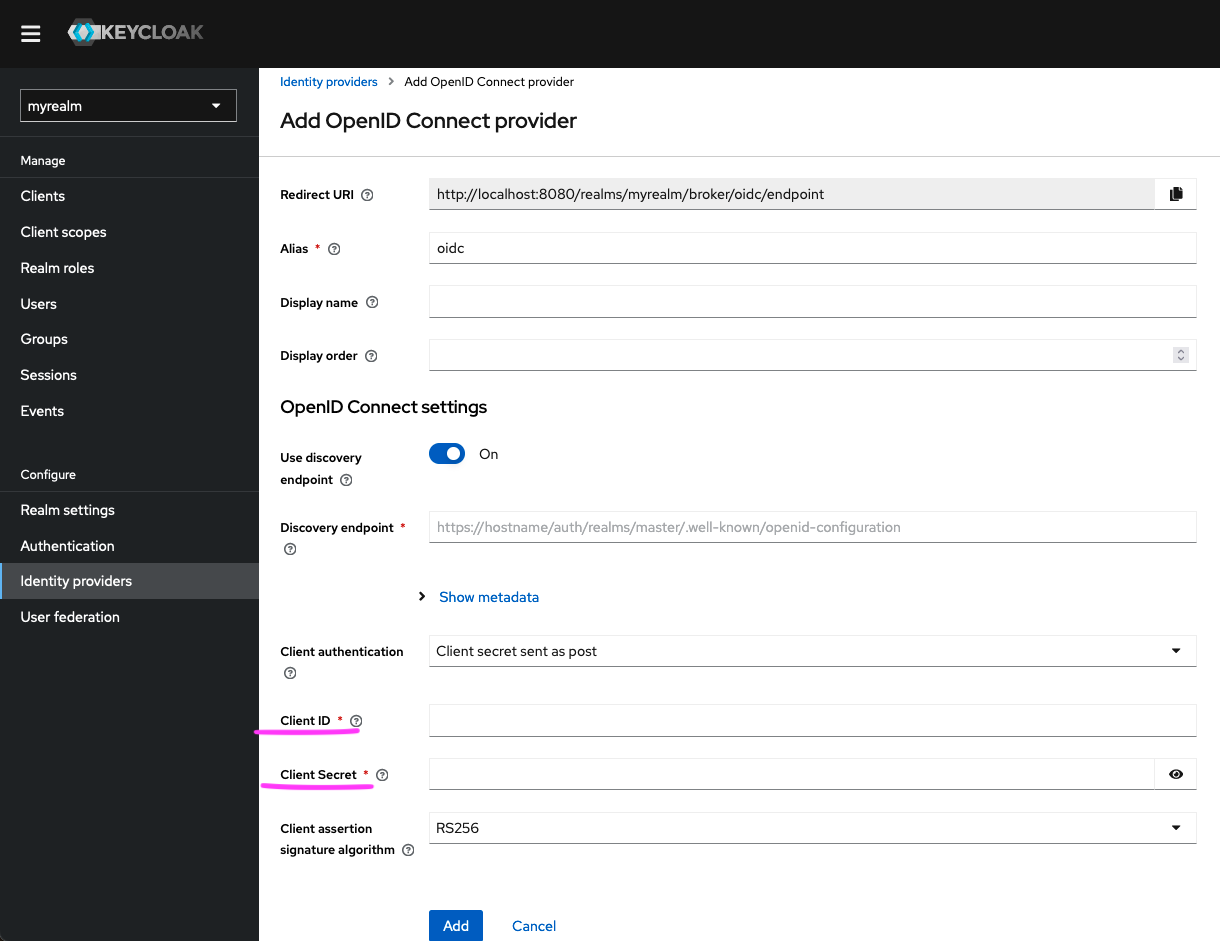
The other mandatory fields in this section are the Discovery Endpoint and Client Assertion Signature Algorithm.
- The
Discovery Endpointwill be:https://central.test.aaf.edu.au/.well-known/openid-configuration - The
Client Assertion Signature Algorithmwill be ‘RS256’ as it is the currently available algorithm when signing JWTs. If no algorithm is specified, Keycloak will default to RS256 in the case of a JWT signed with a private key. - Click ‘Add’.
You will see the new identity provider settings (as shown below).
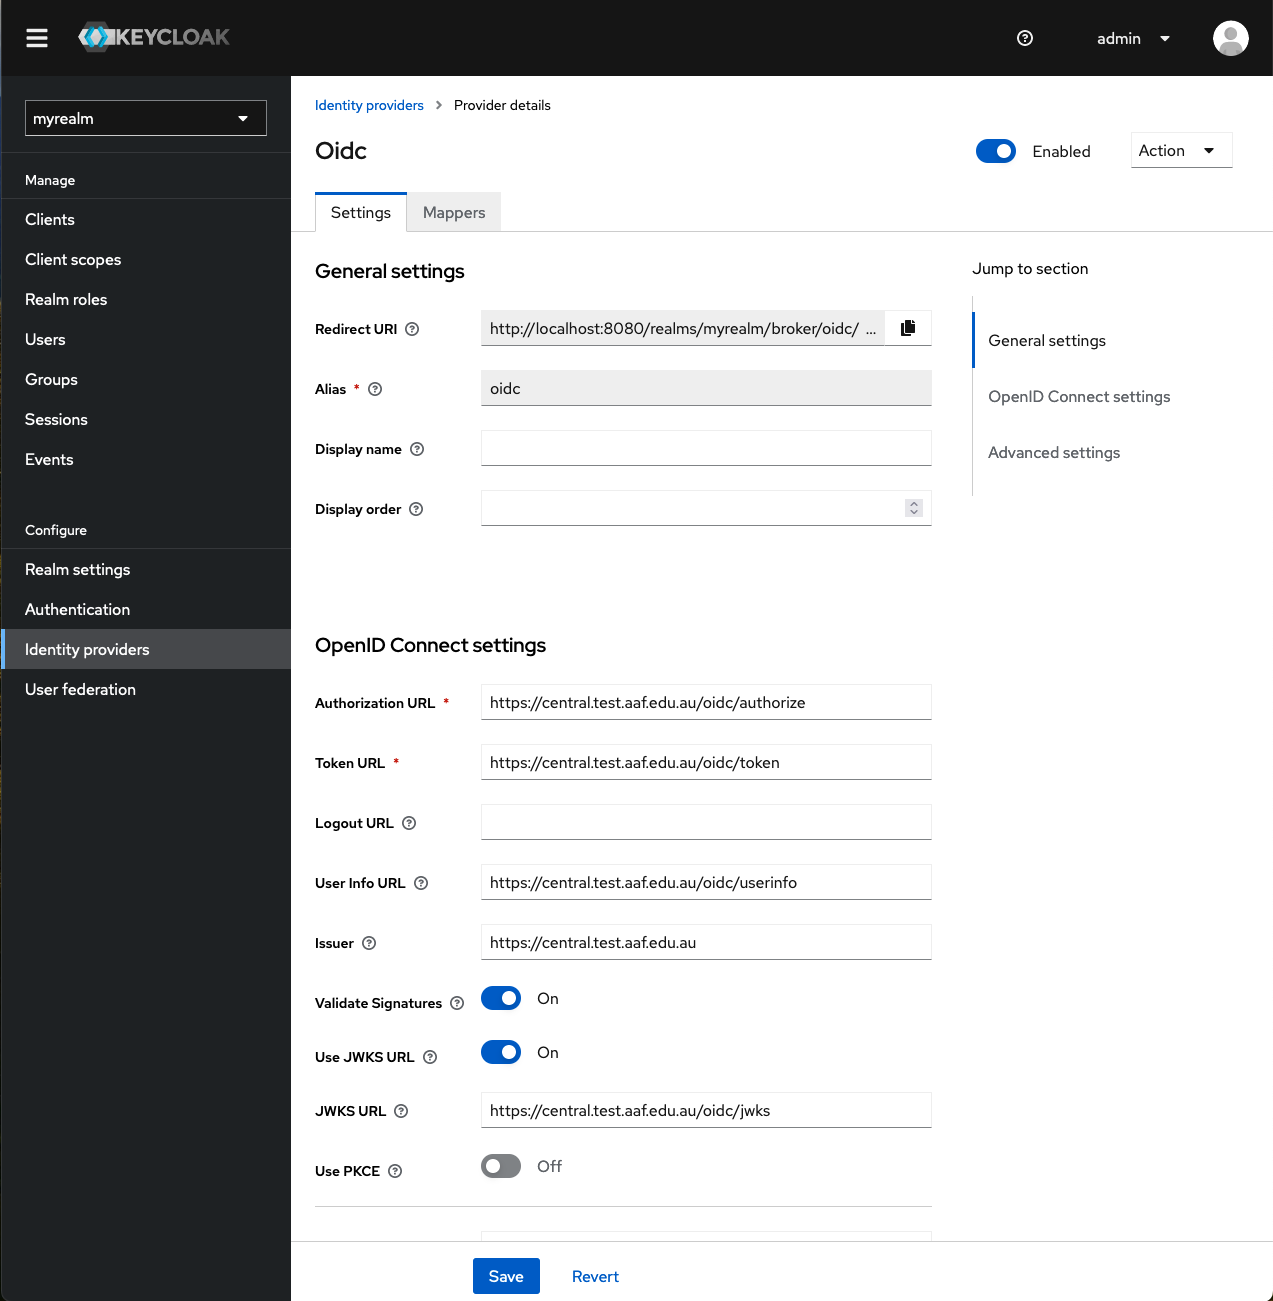
If you click on the ‘Identity providers’ option (in the left-hand menu bar), you will now see the newly created identity provider called ‘oidc’:
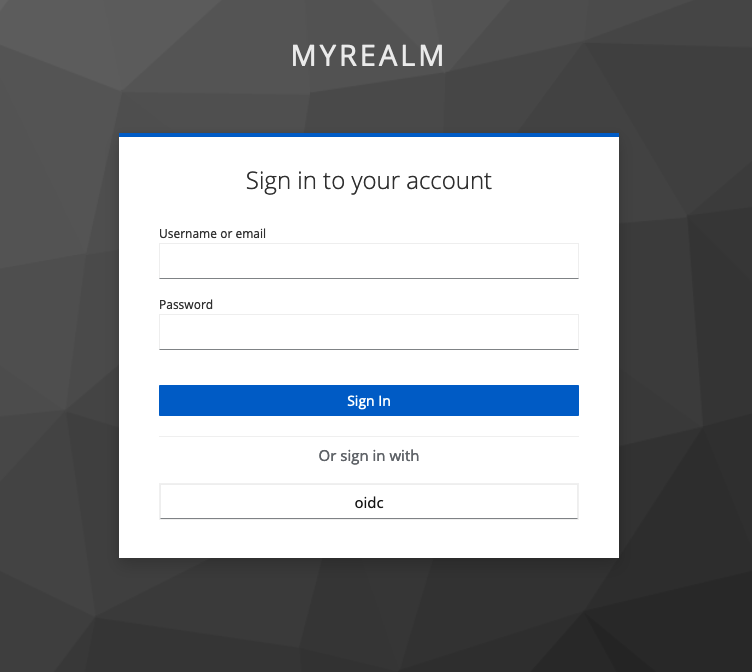
- When next signing in, you will see the option to sign in with ‘oidc’ (or whatever
aliasyou chose to identify your identity provider). - Click on ‘oidc’.
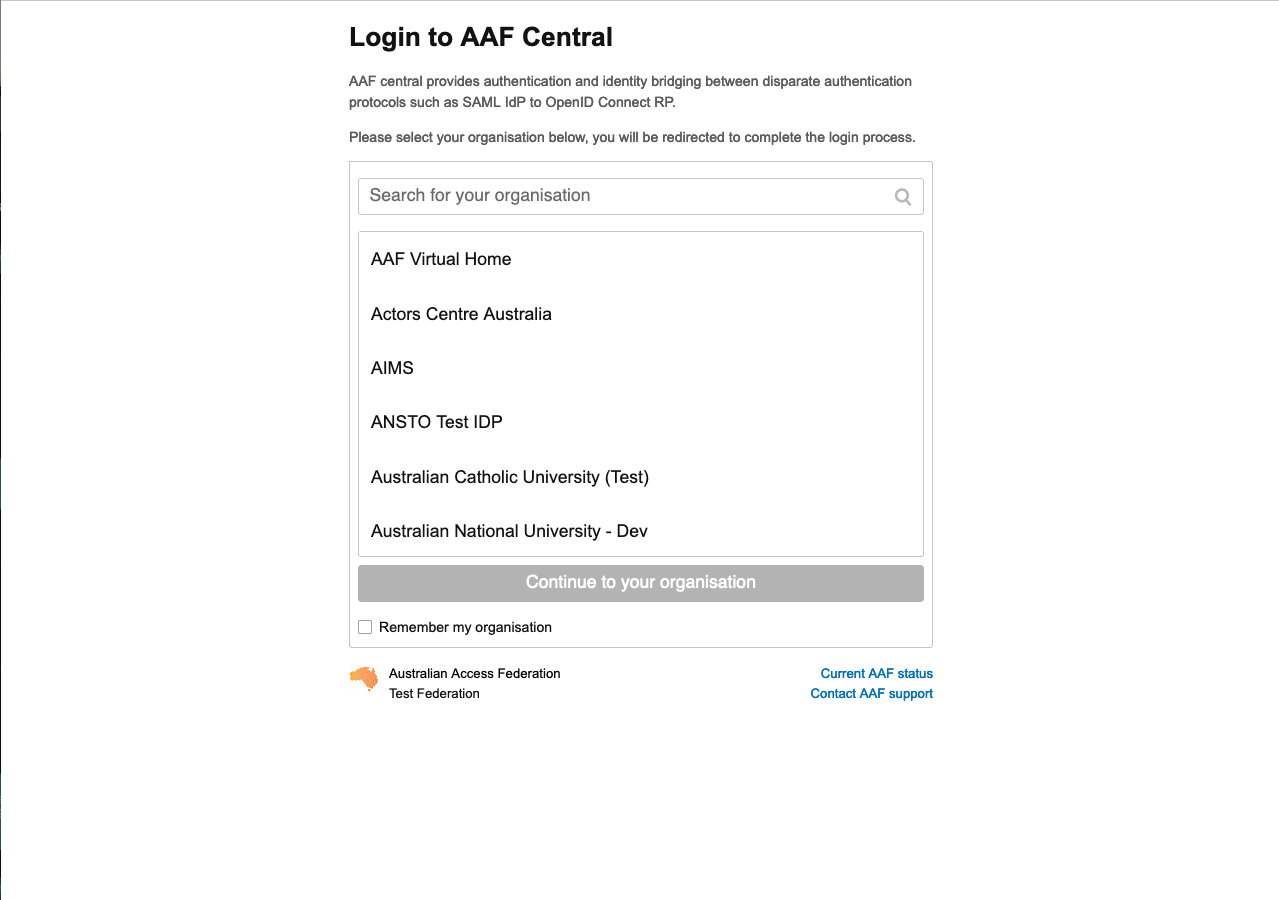
This will take you to the AAF Discovery Service (known as AAF Central).
- Select your organisation from the list provided and click ‘Continue to your organisation’.
- You will be prompted to enter your username and password.
- Click ‘Sign in’.
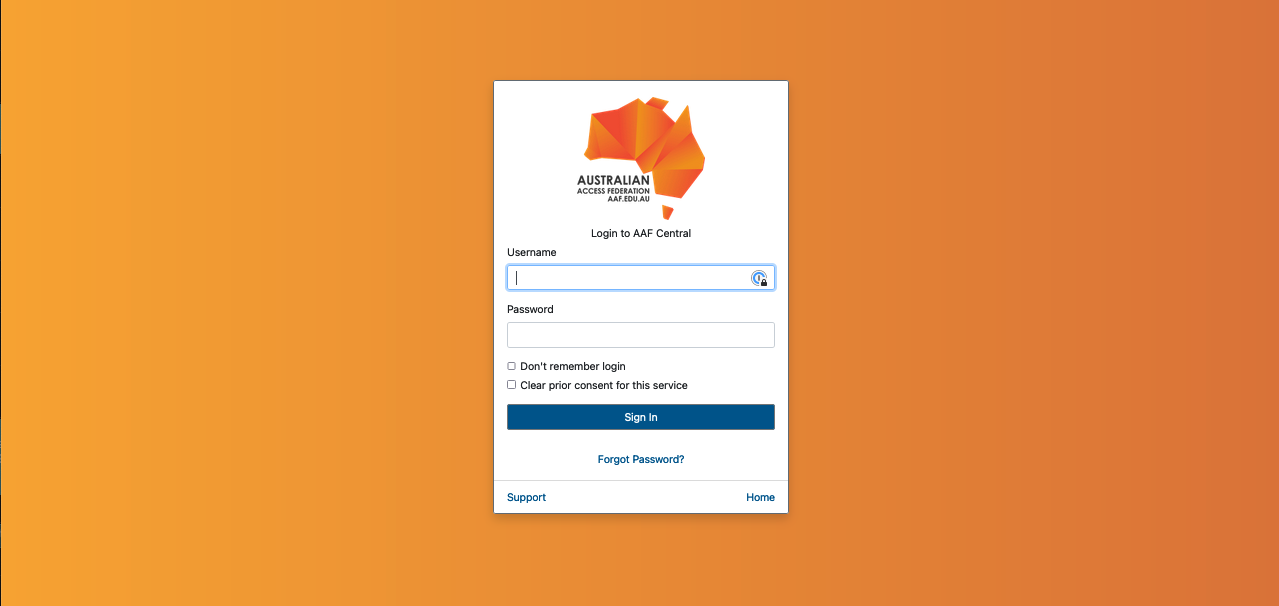
- If authentication is successful, you will be taken back to your Keycloak account console.