Connect with Keycloak
Add an identity provider
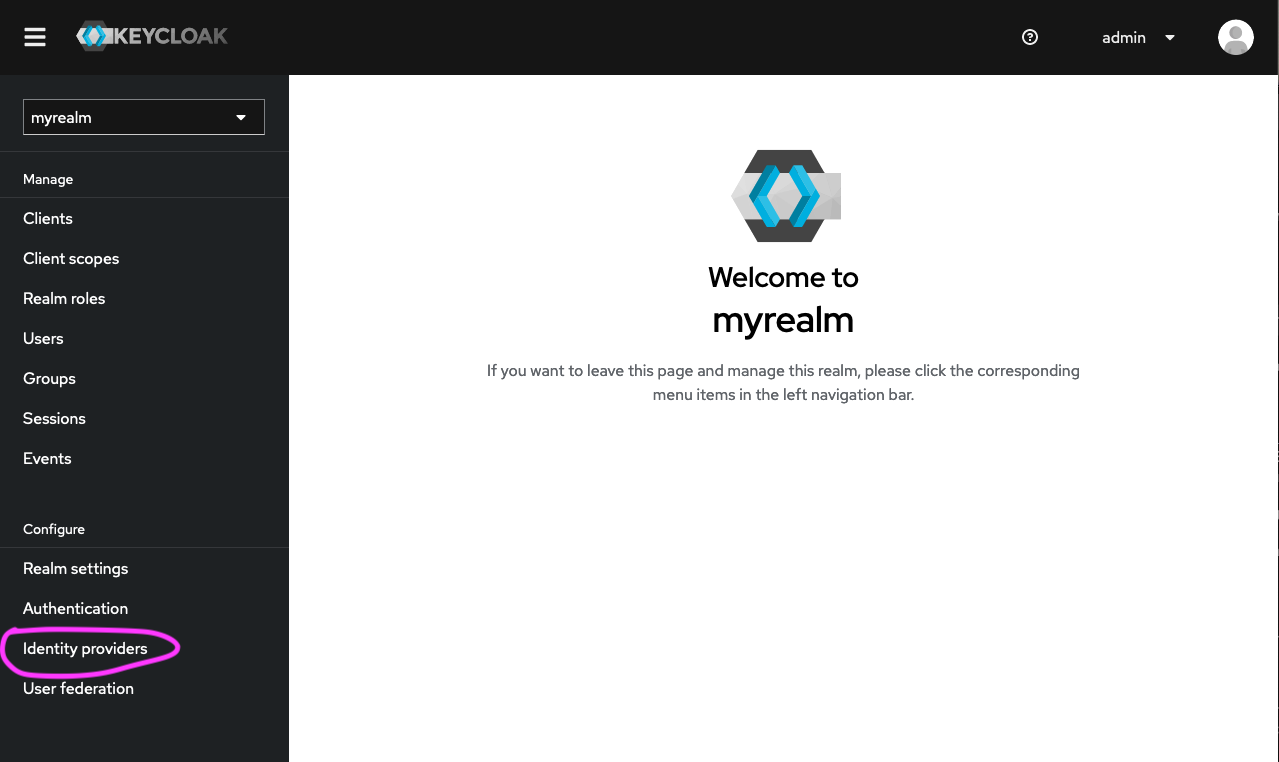
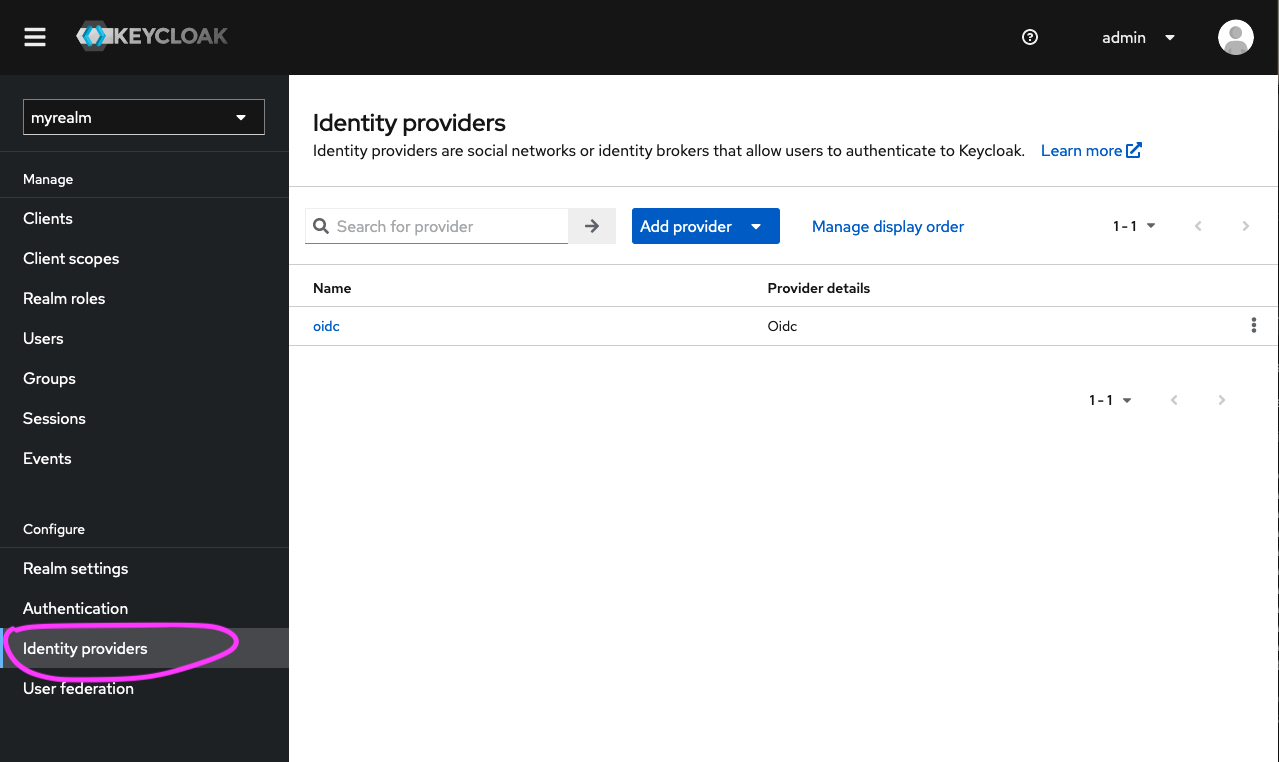
- Once in the selected realm (in this example, it is called ‘myrealm’), click on ‘Identity providers’ (at the bottom of the left hand menu bar).
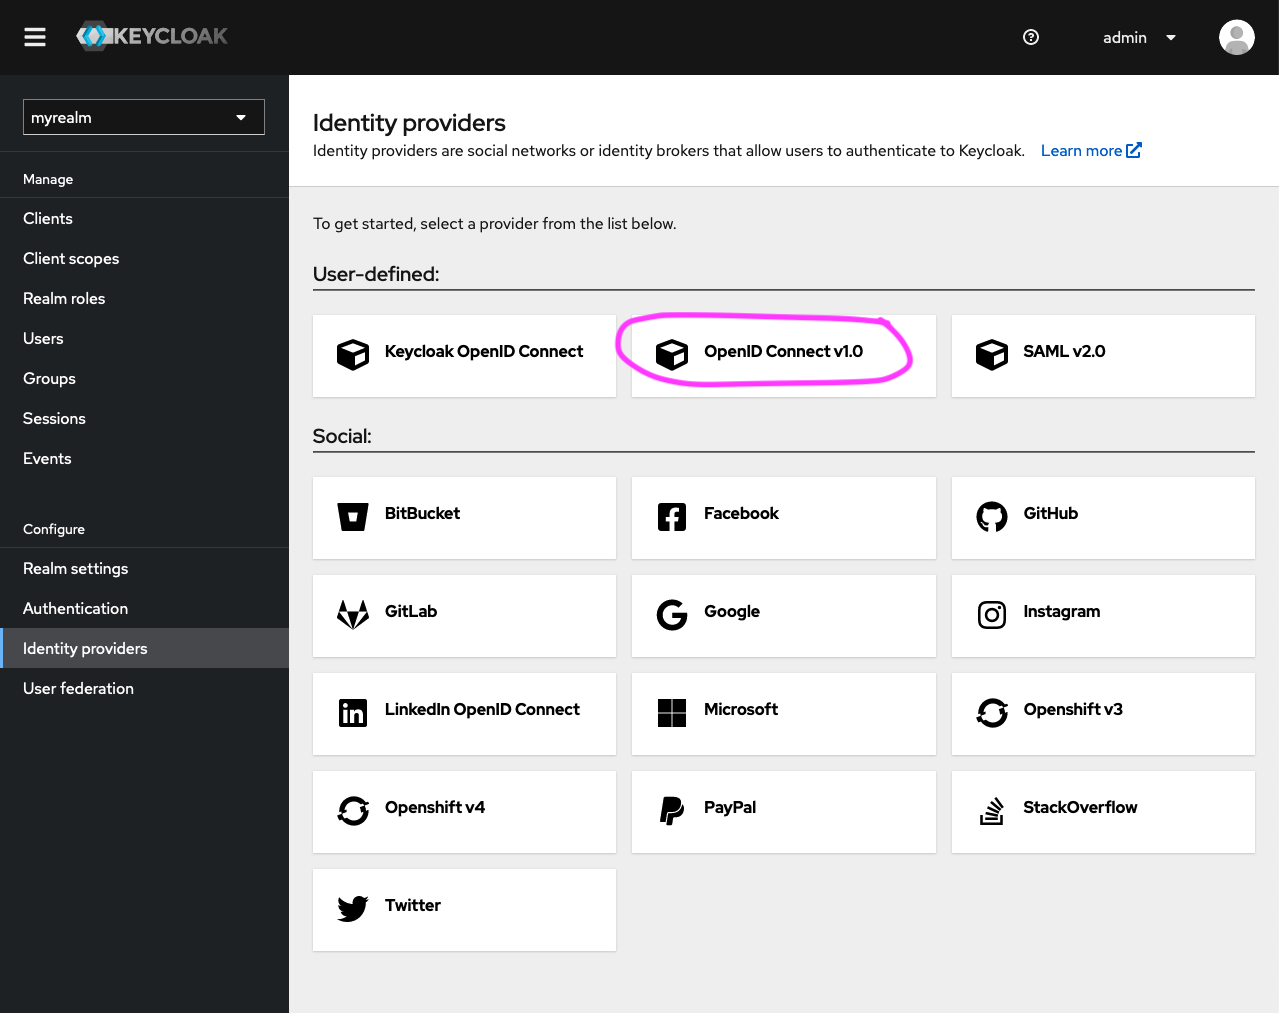
- Click on ‘OpenID Connect v1.0’ in the ‘User-defined’ section. This is the open protocol standard that AAF uses to authenticate users in this instance.
- In the ‘Add OpenID Connect provider’ section, copy the value of the
Redirect URIfield to your clipboard.
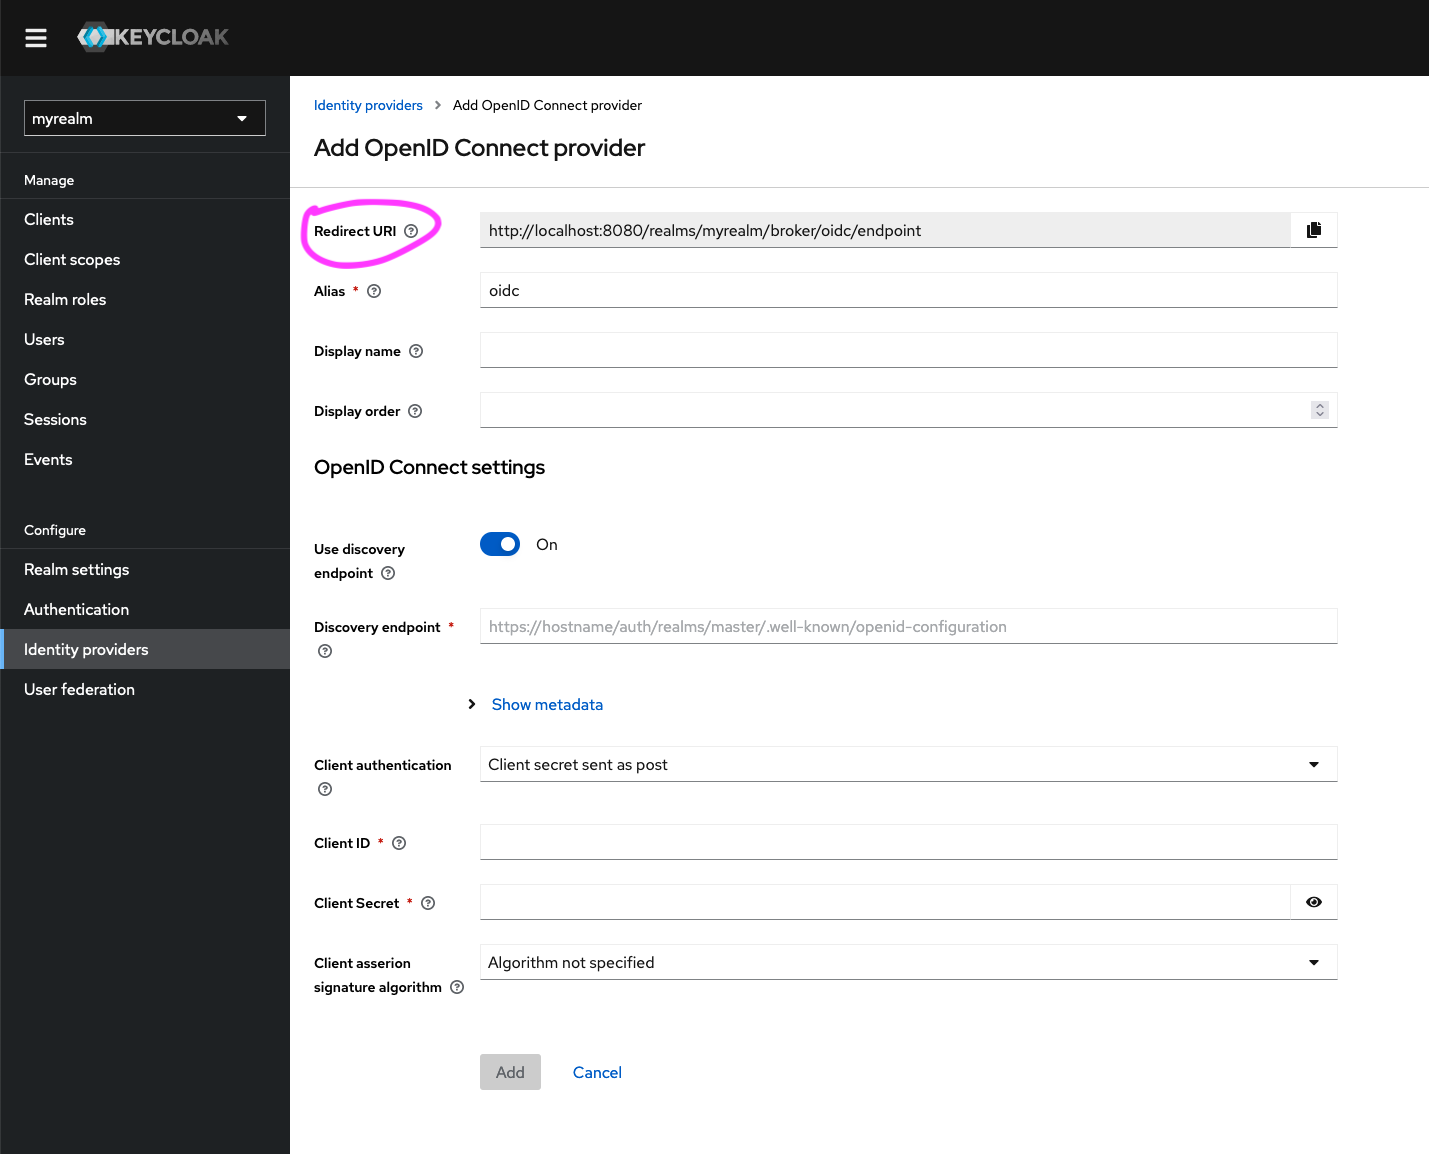
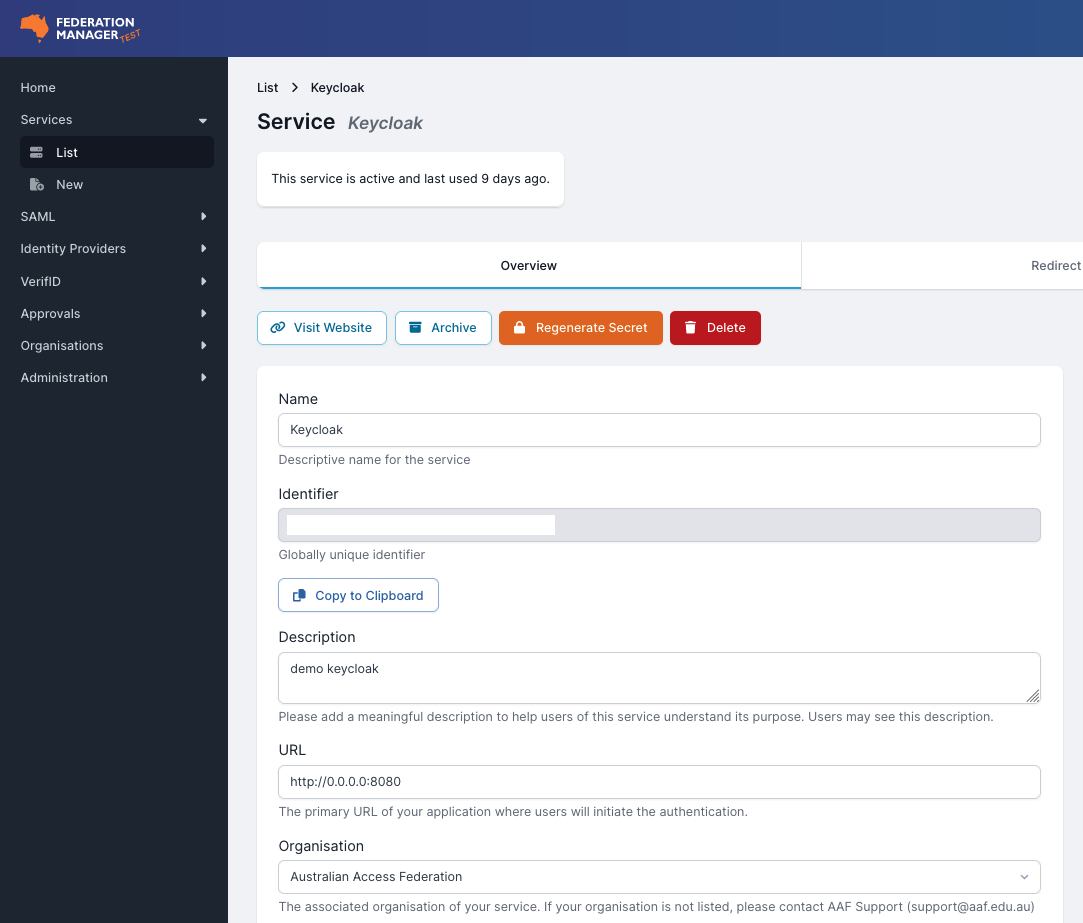
- In a separate browser tab, register a new OIDC service in Federation Manager (Test).
Keep the Keycloak admin console page open as you will need to enter the Client ID and Client Secret field values provided by Federation Manager into Keycloak.
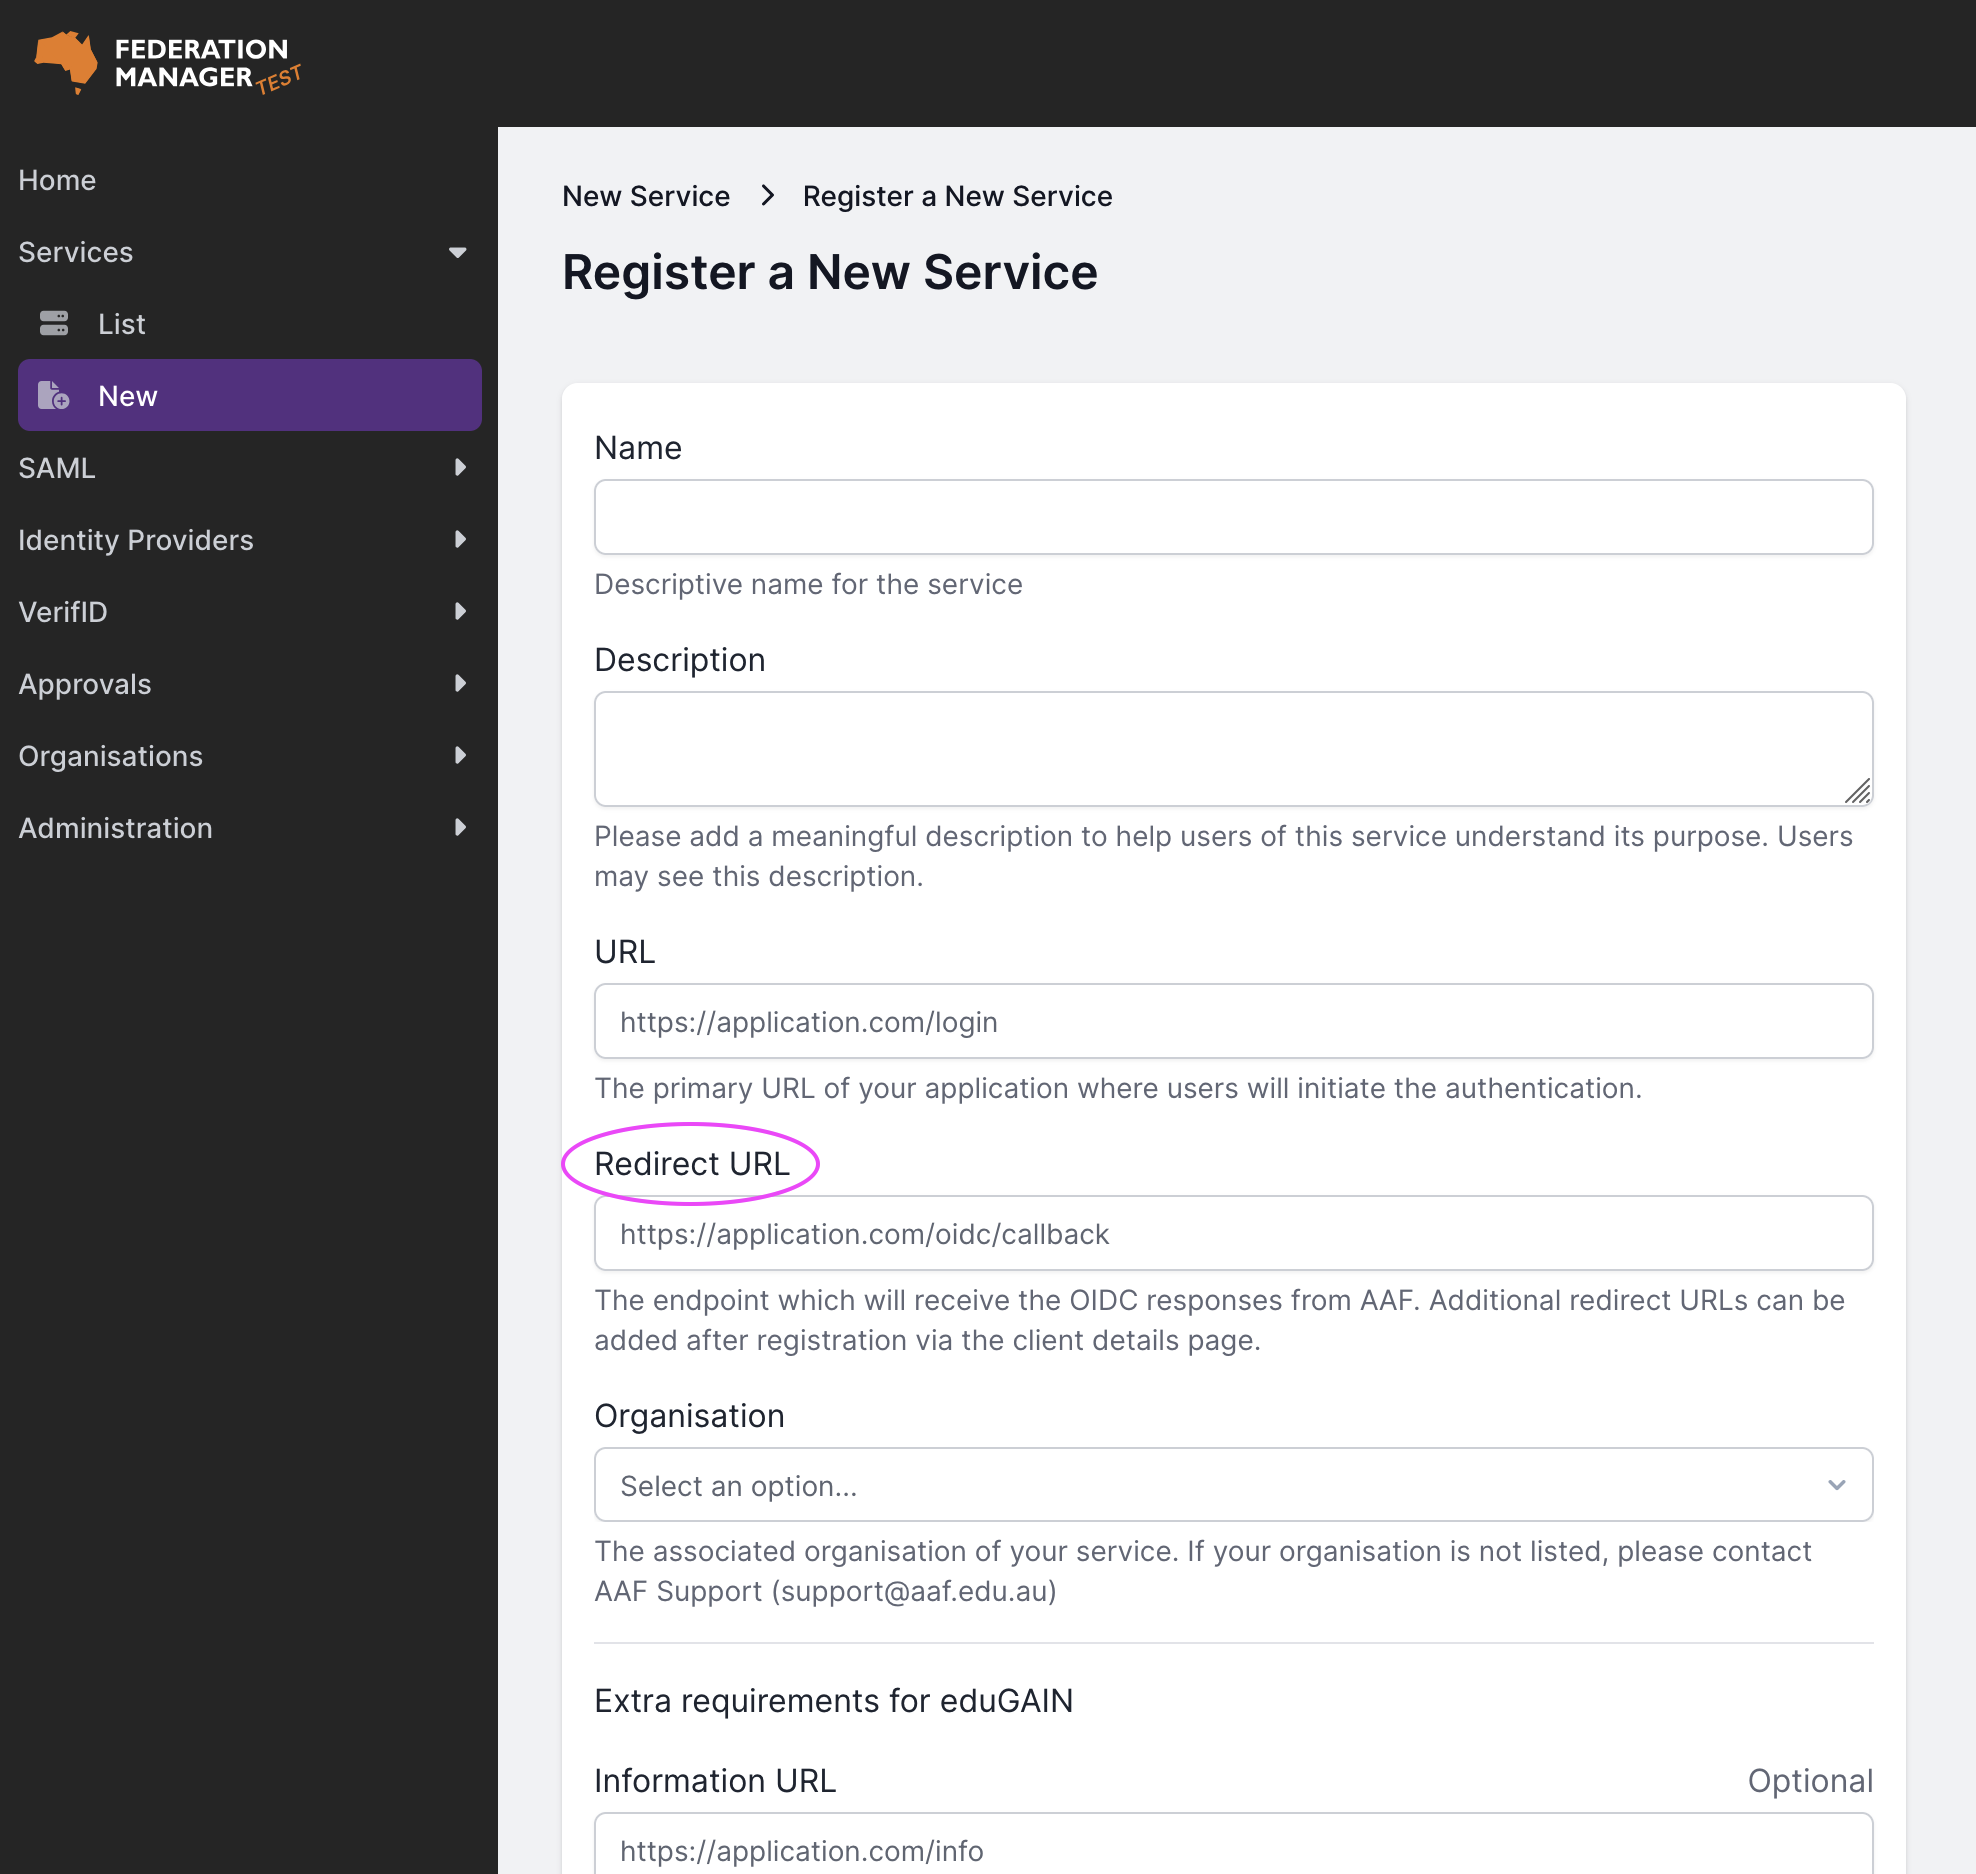
- On the ‘Register a New Service’ page (for OpenID Connect) in Federation Manager, paste the
Redirect URIvalue obtained from Keycloak into theRedirect URLfield.
Note: In the development environment, make sure to use http for both the URL and Redirect URL.
- Once you click ‘Register Service’ you will receive an ‘Identifier’ (redacted below) and a ‘Secret’ from Federation Manager (Test).
You will be able to regenerate the secret later if required.
- Copy the ‘Identifier’ and ‘Secret’ to your clipboard and head back over to Keycloak.
- Paste these items into the
Client IDandClient Secretfields, respectively, within the ‘OpenID Connect settings’ section of the Keycloak console.
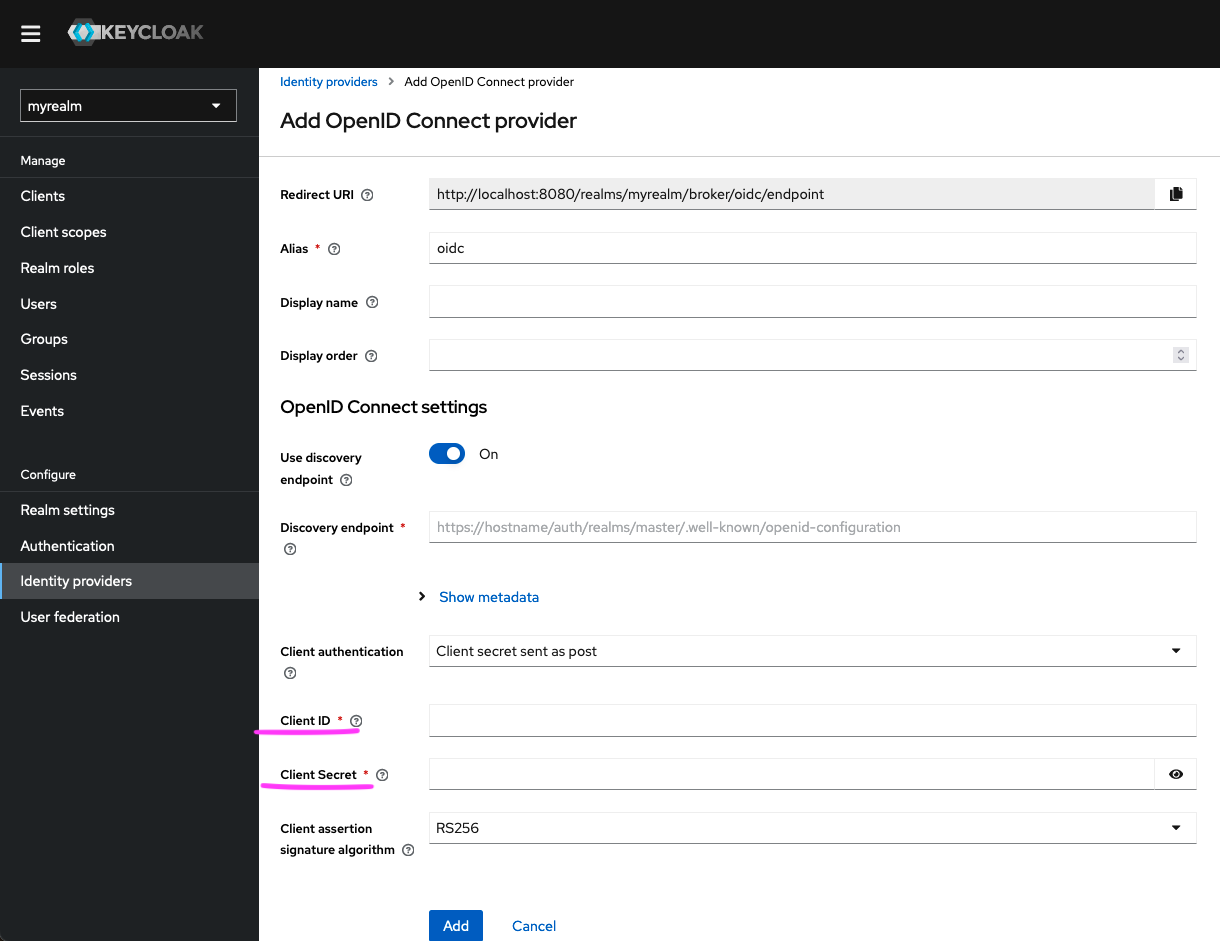
The other mandatory fields in this section are the Discovery Endpoint and Client Assertion Signature Algorithm.
| Field | Value |
|---|---|
| Discovery Endpoint |
|
| Client Assertion Signature Algorithm |
|
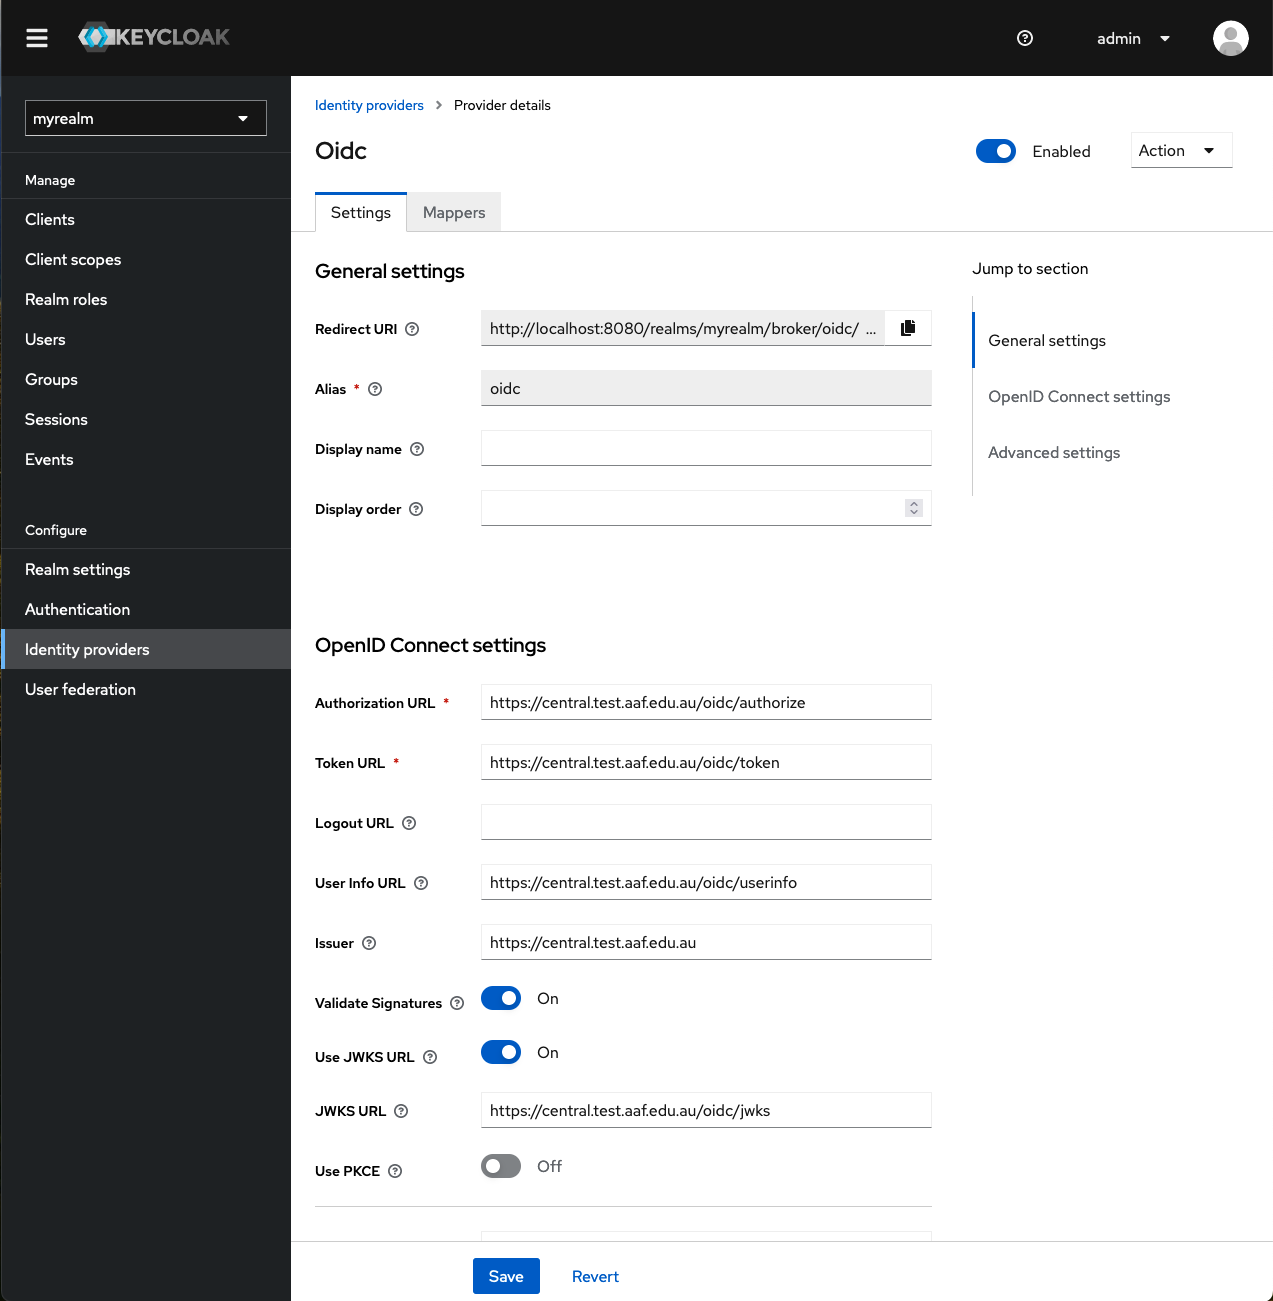
- Click ‘Add’.
You will see the new identity provider settings (as shown below).
If you click on the ‘Identity providers’ option (in the left-hand menu bar), you will now see the newly created identity provider called ‘oidc’:
Logging in with the new identity provider
- First ensure that the users you wish to authenticate with this identity provider have been added to the selected realm.
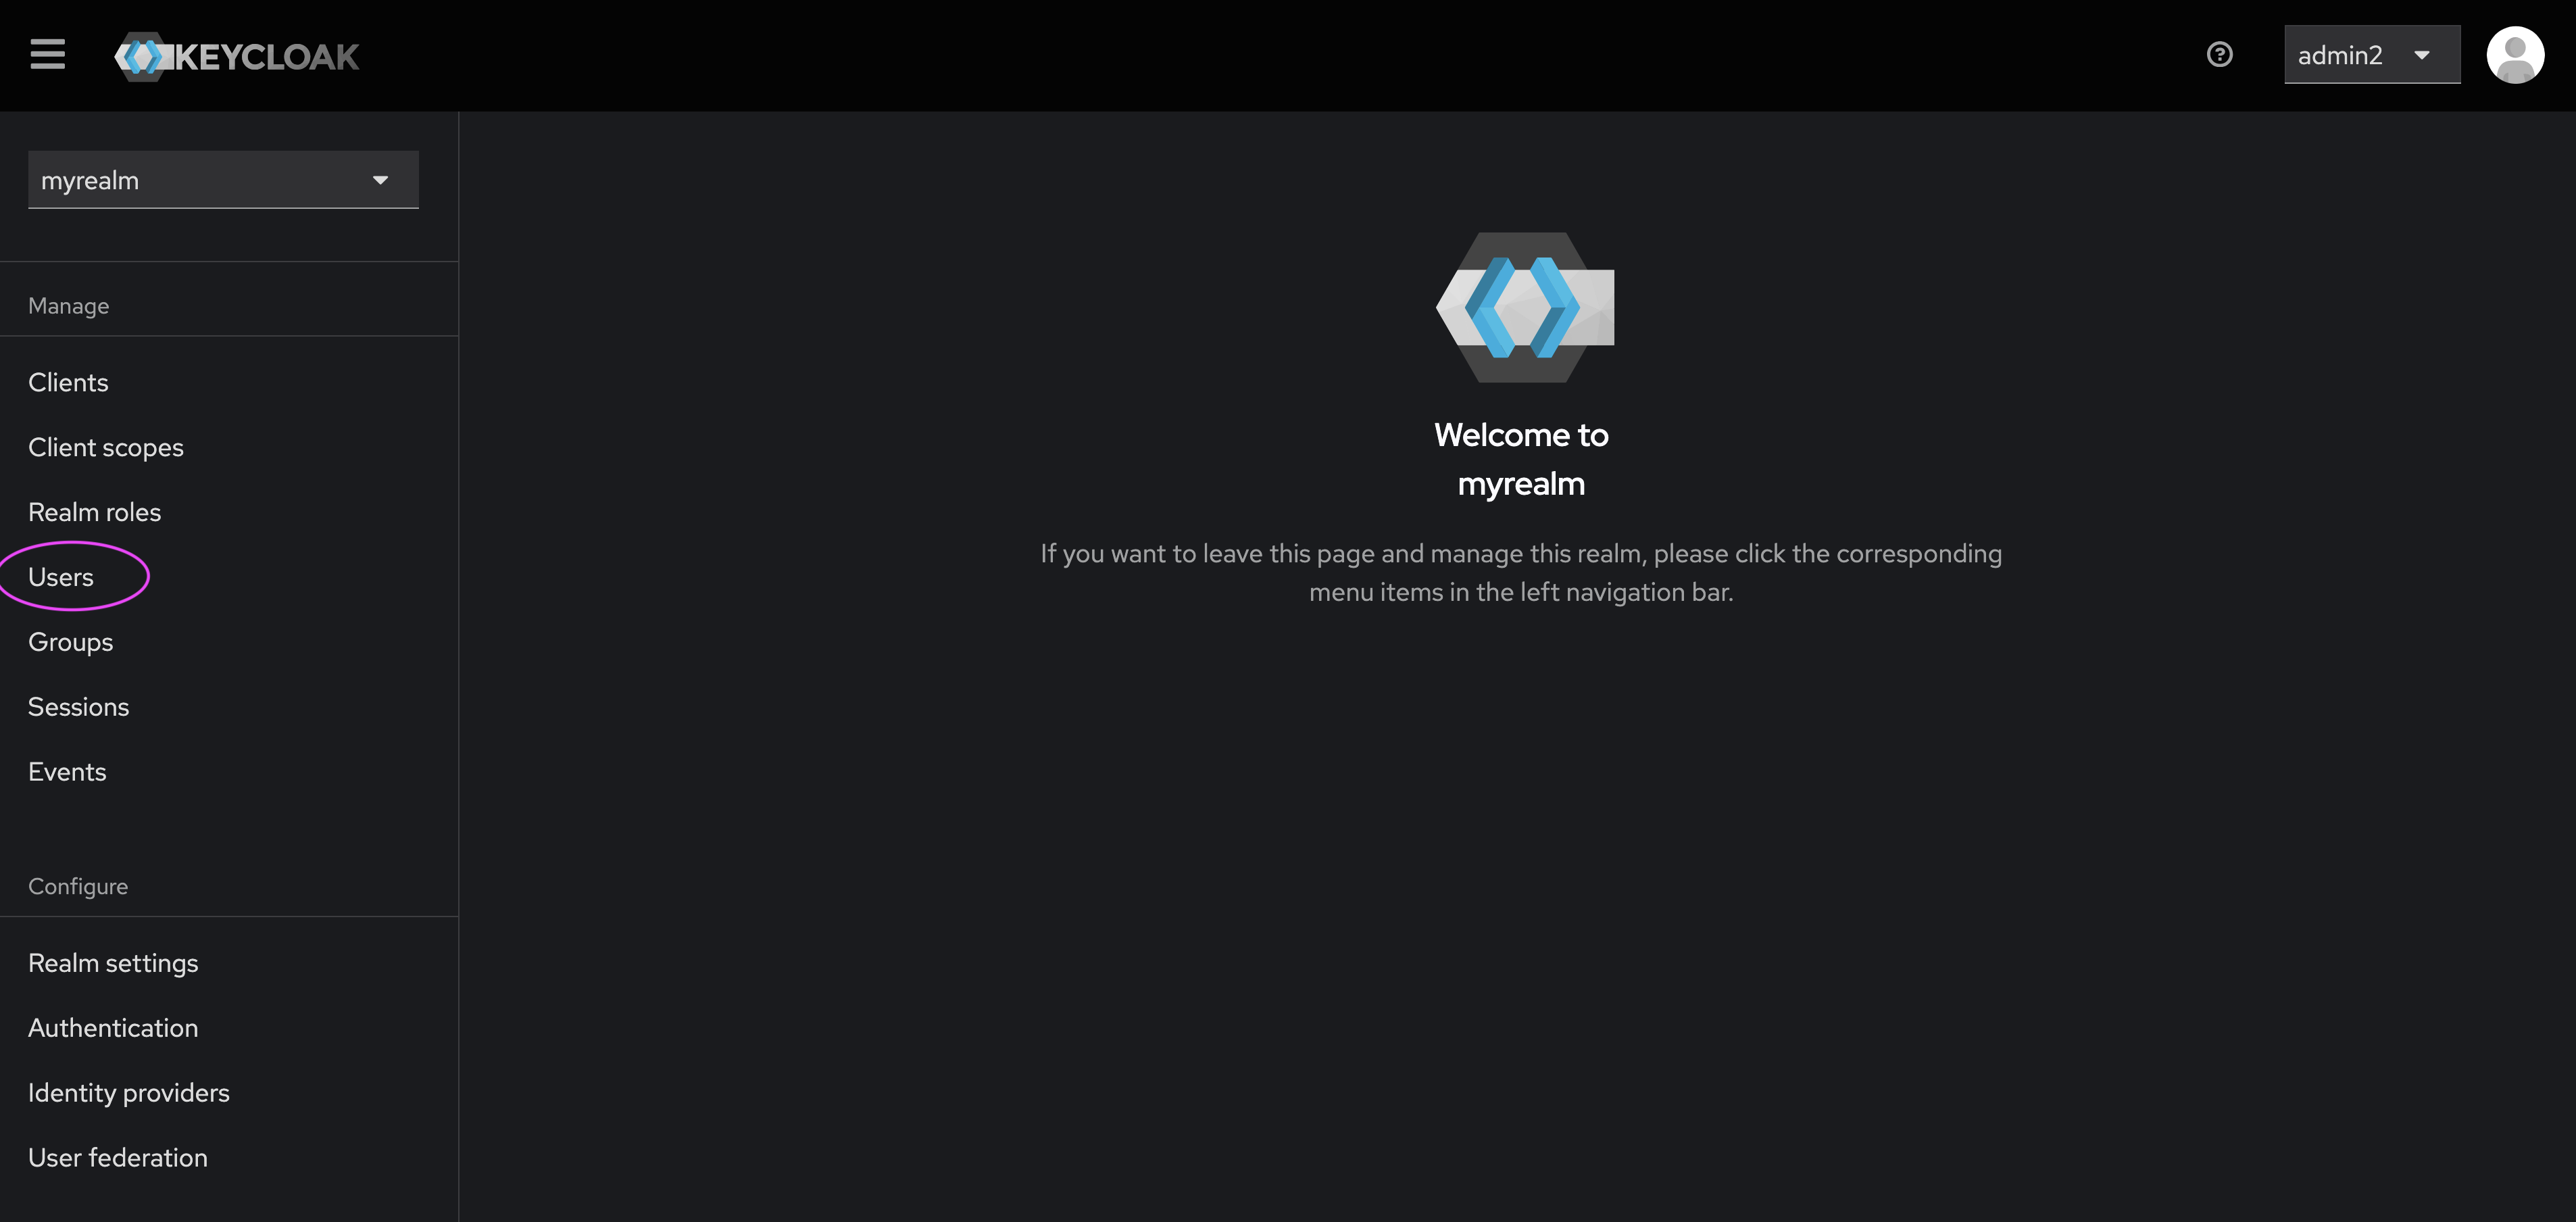
- To do this, click on ‘Users’ in the left-hand menu bar.
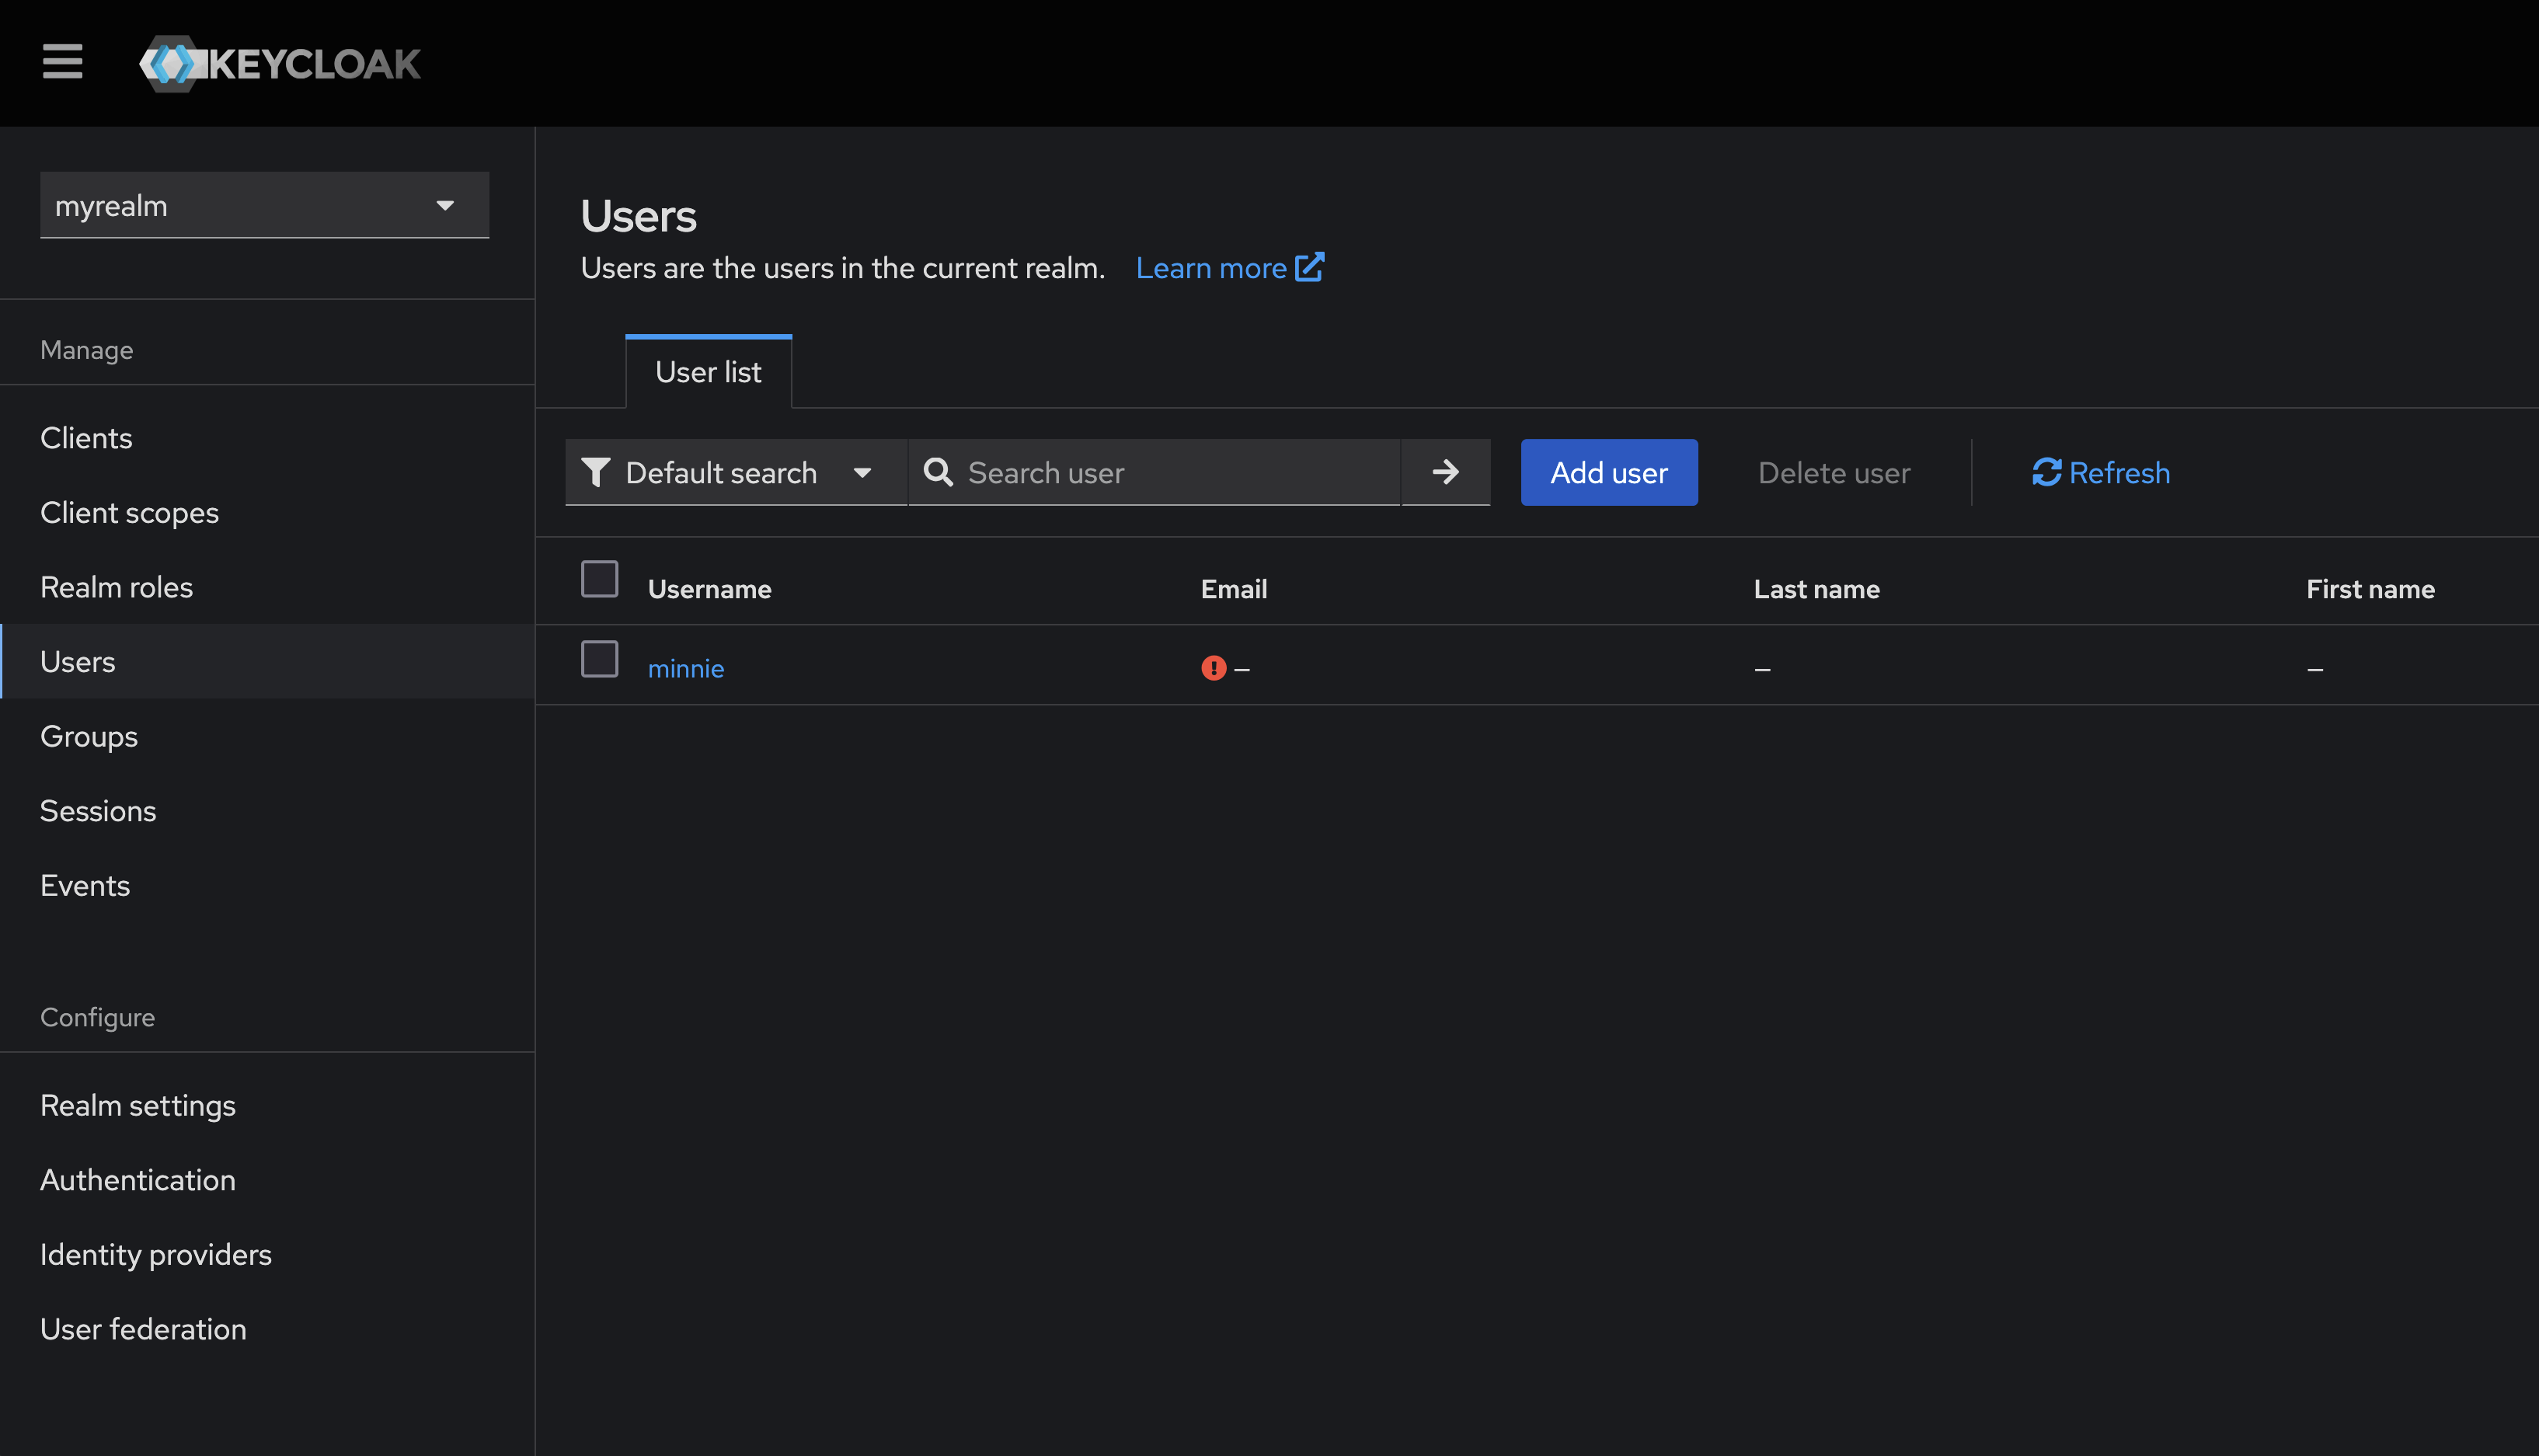
- Click on the user you wish to authenticate with the new identity provider.
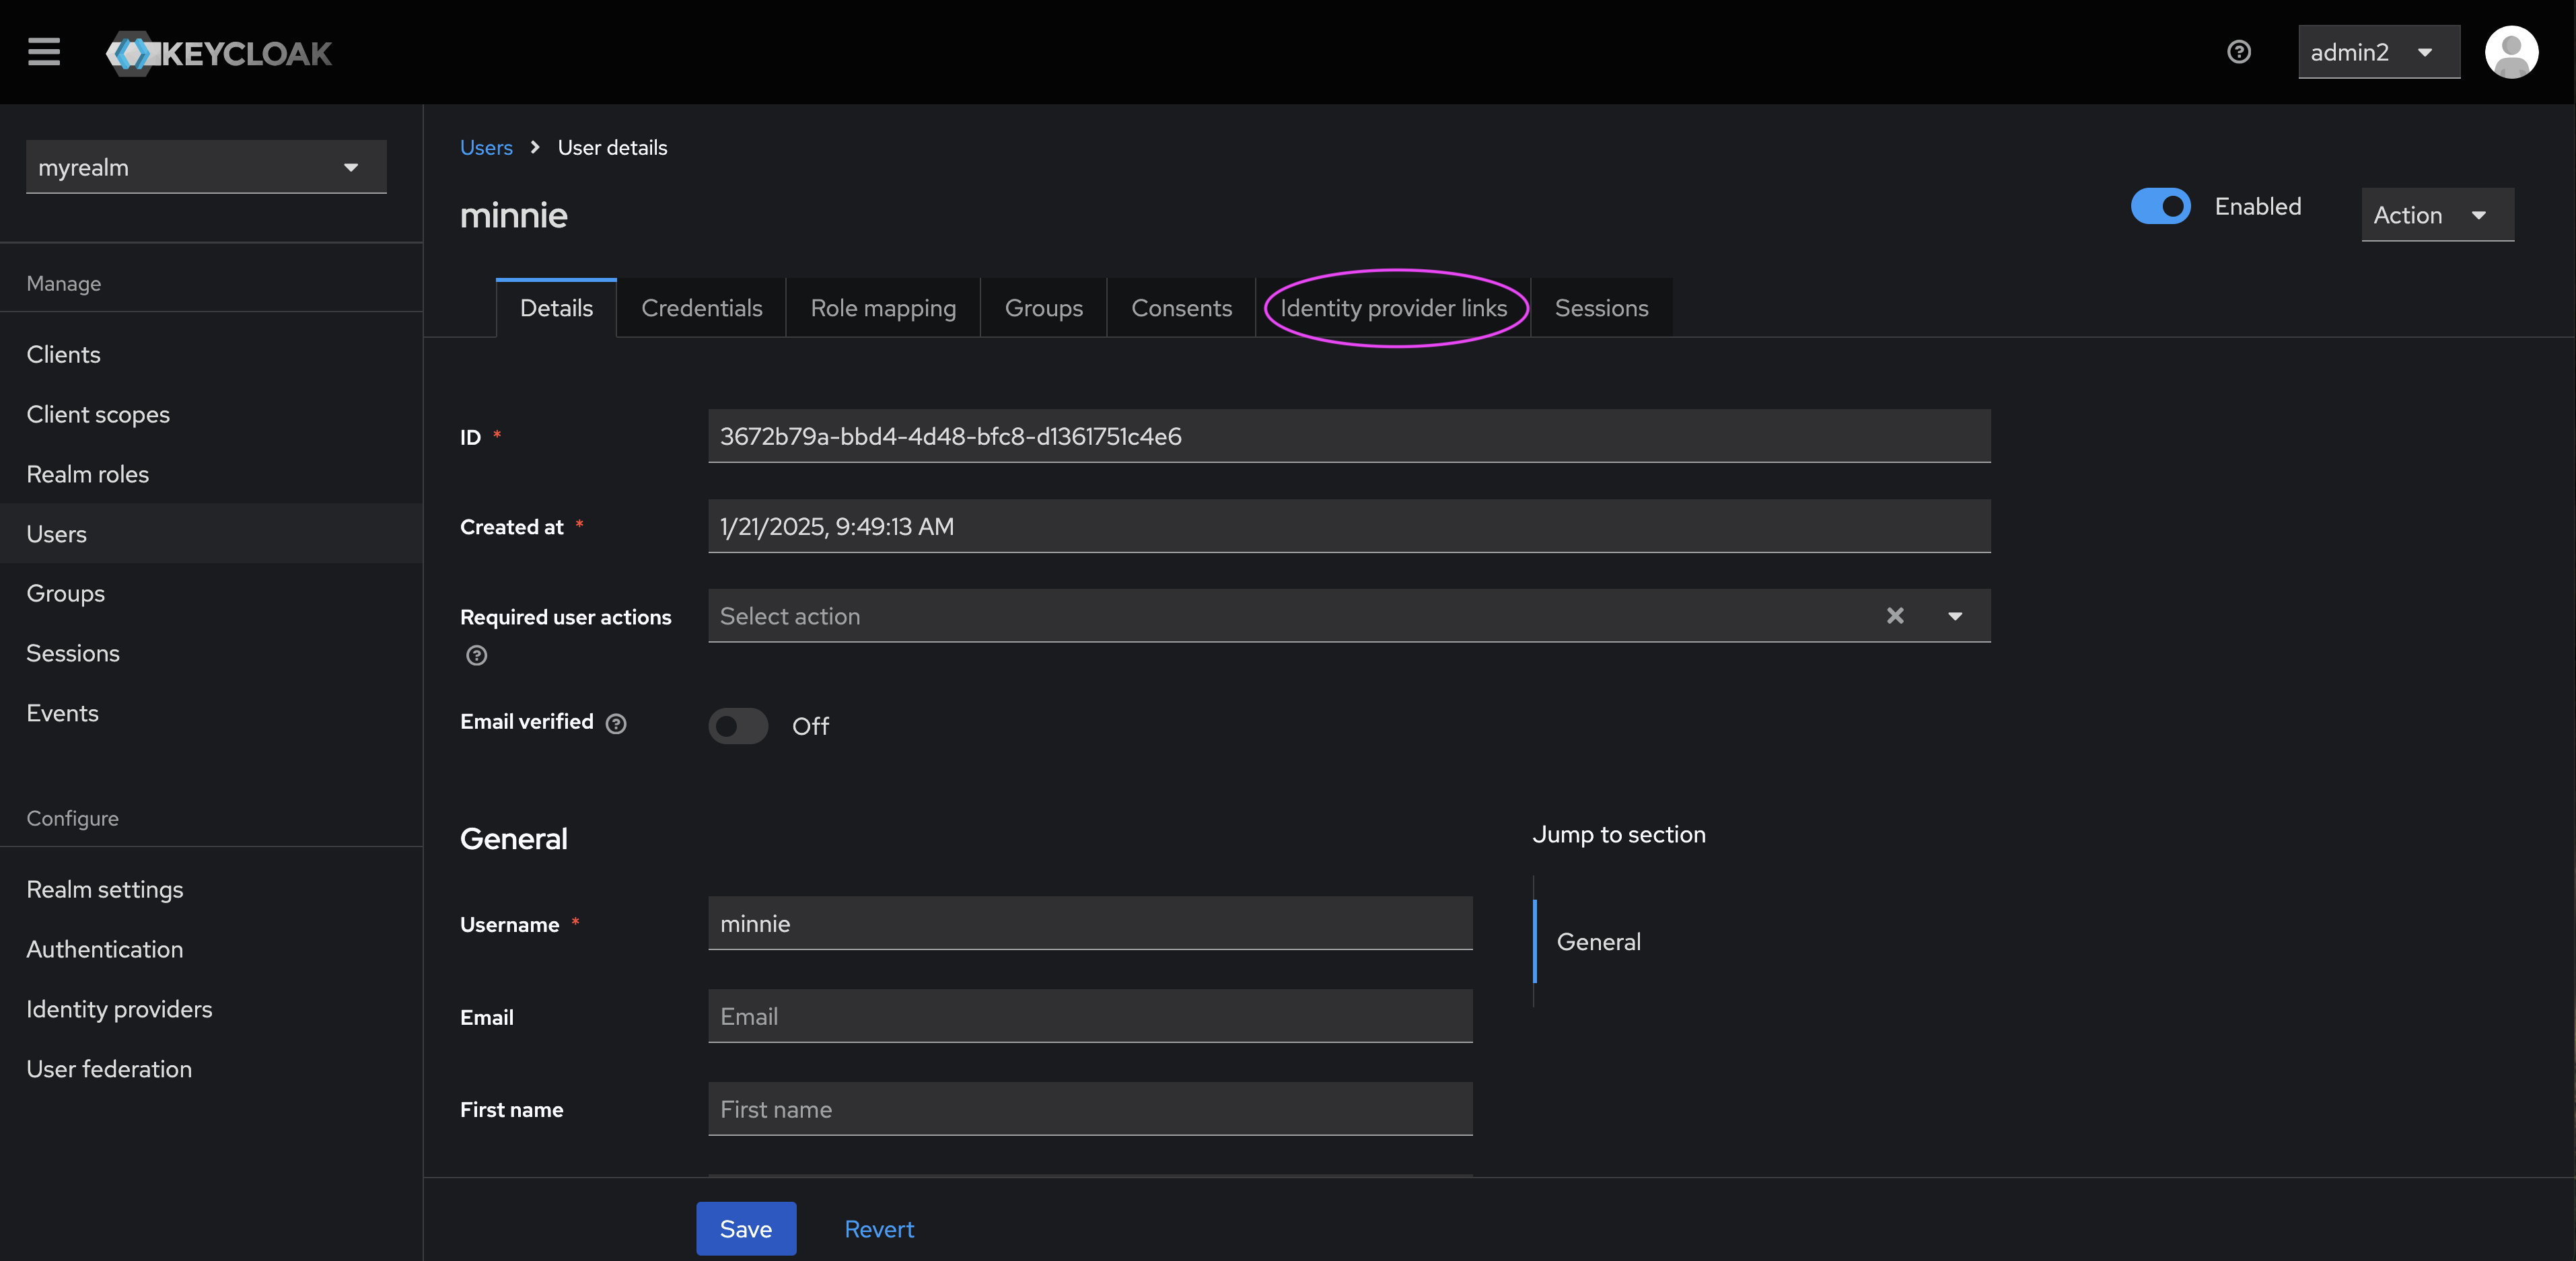
- In the User Profile, click on ‘identity provider links’.
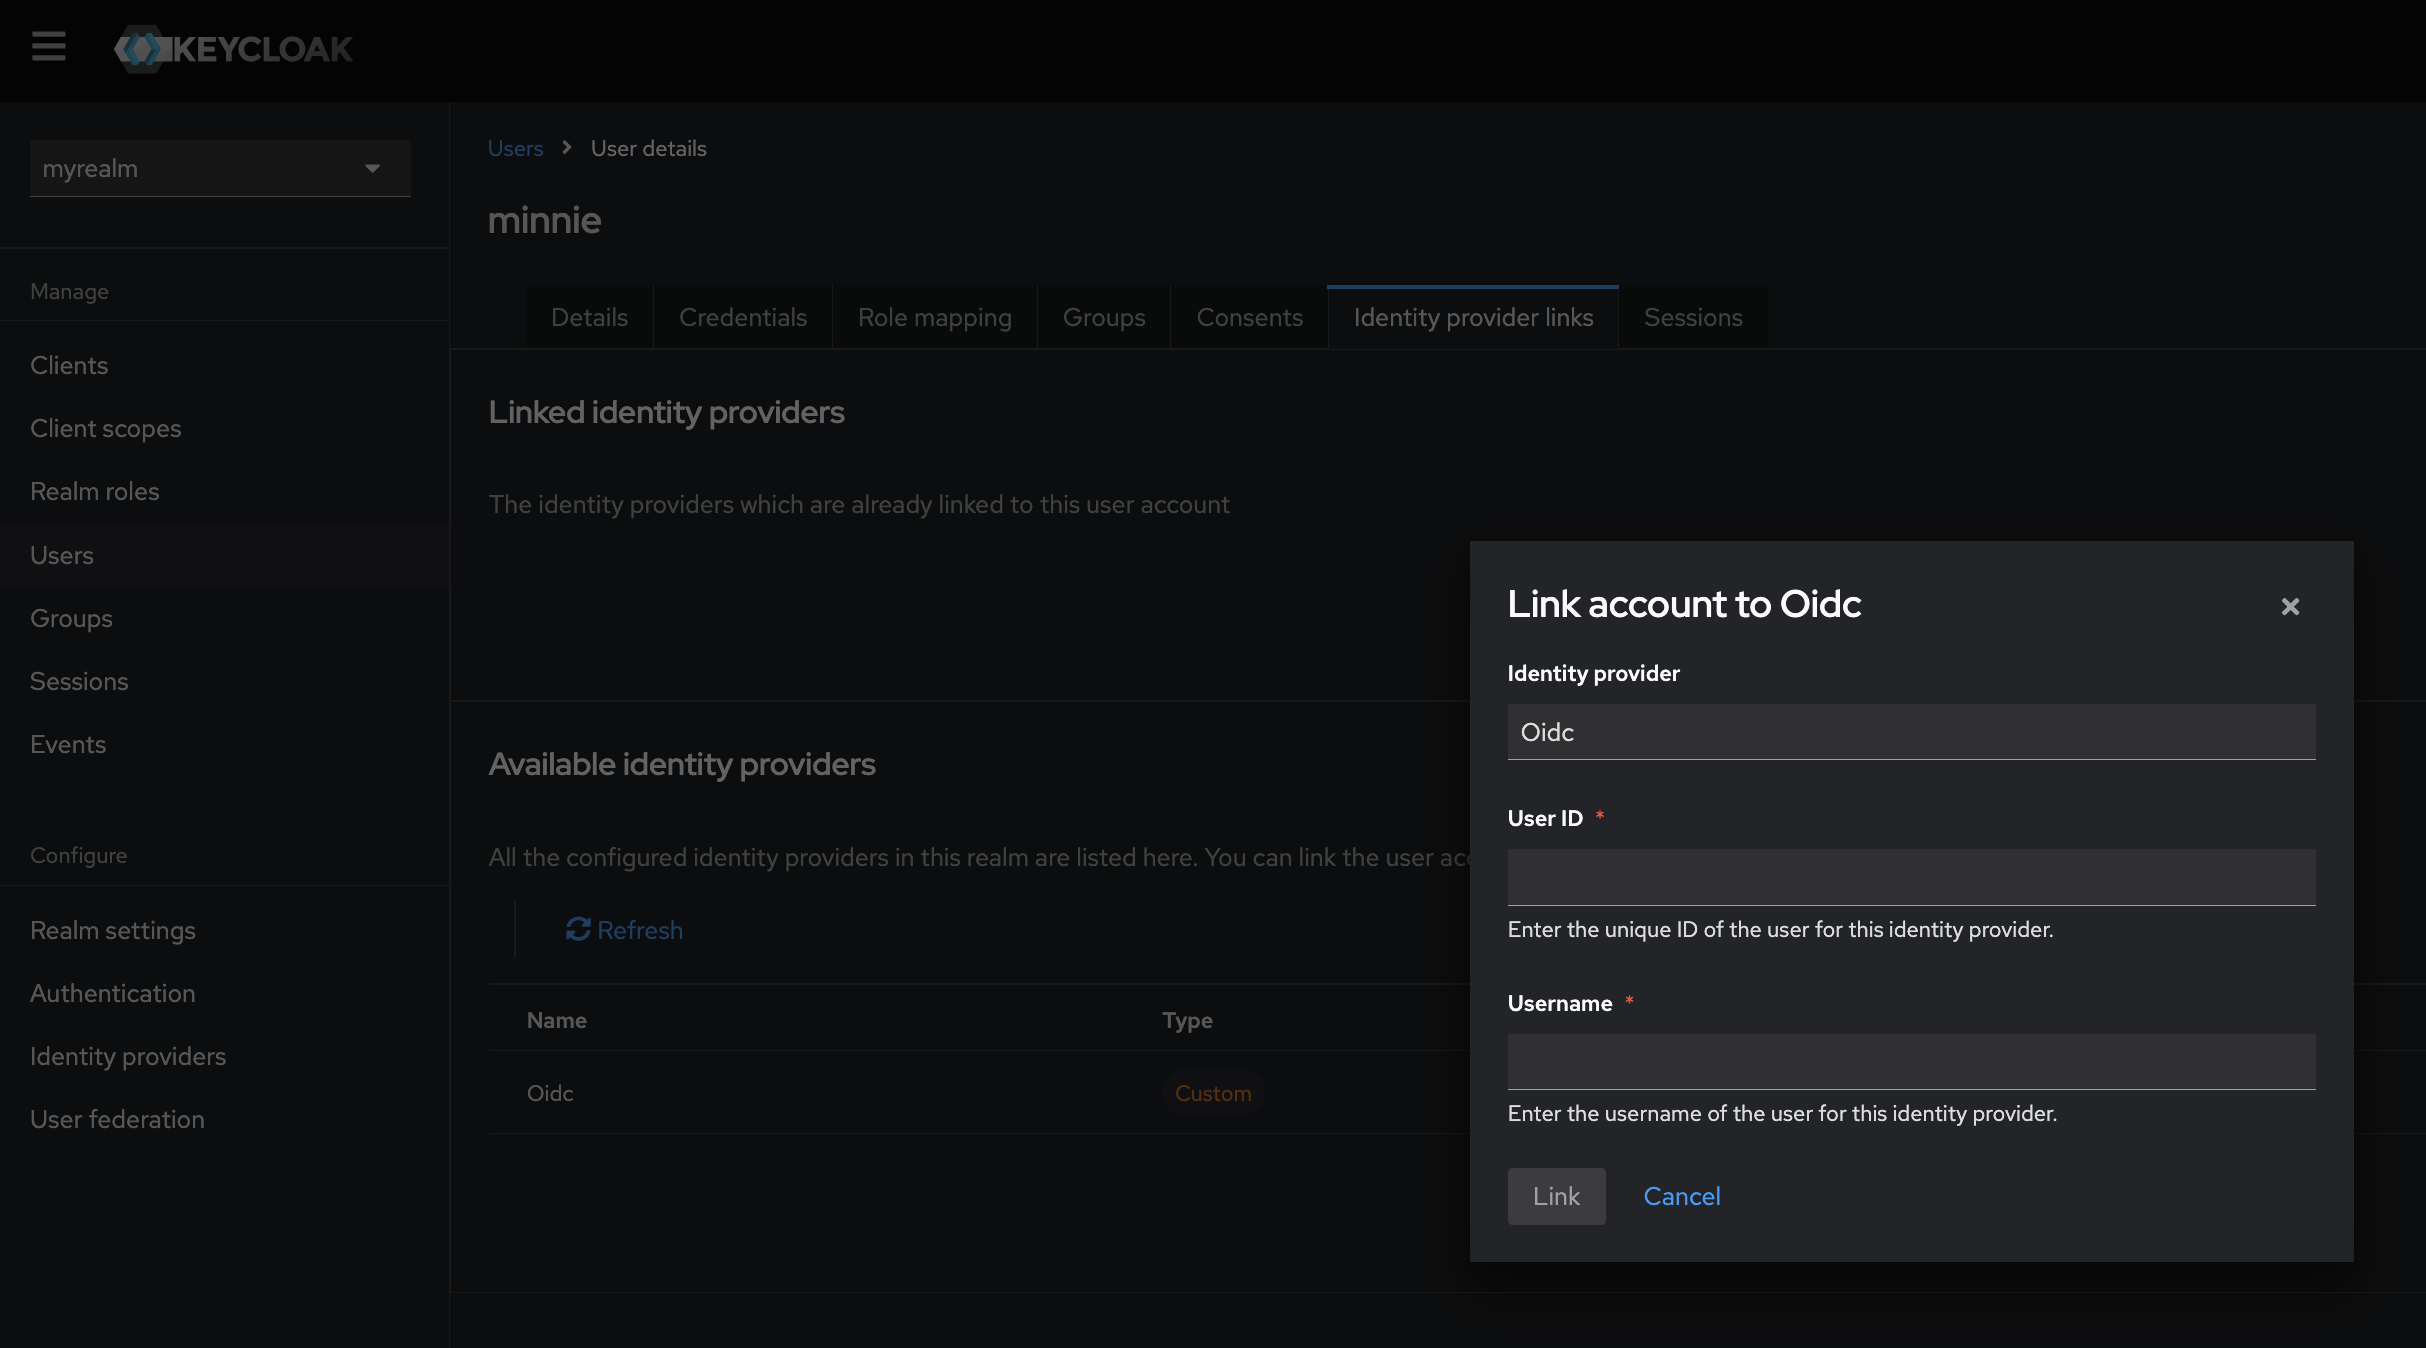
- Click ‘Link account’ next to the new identity provider (in this case, ‘oidc’).
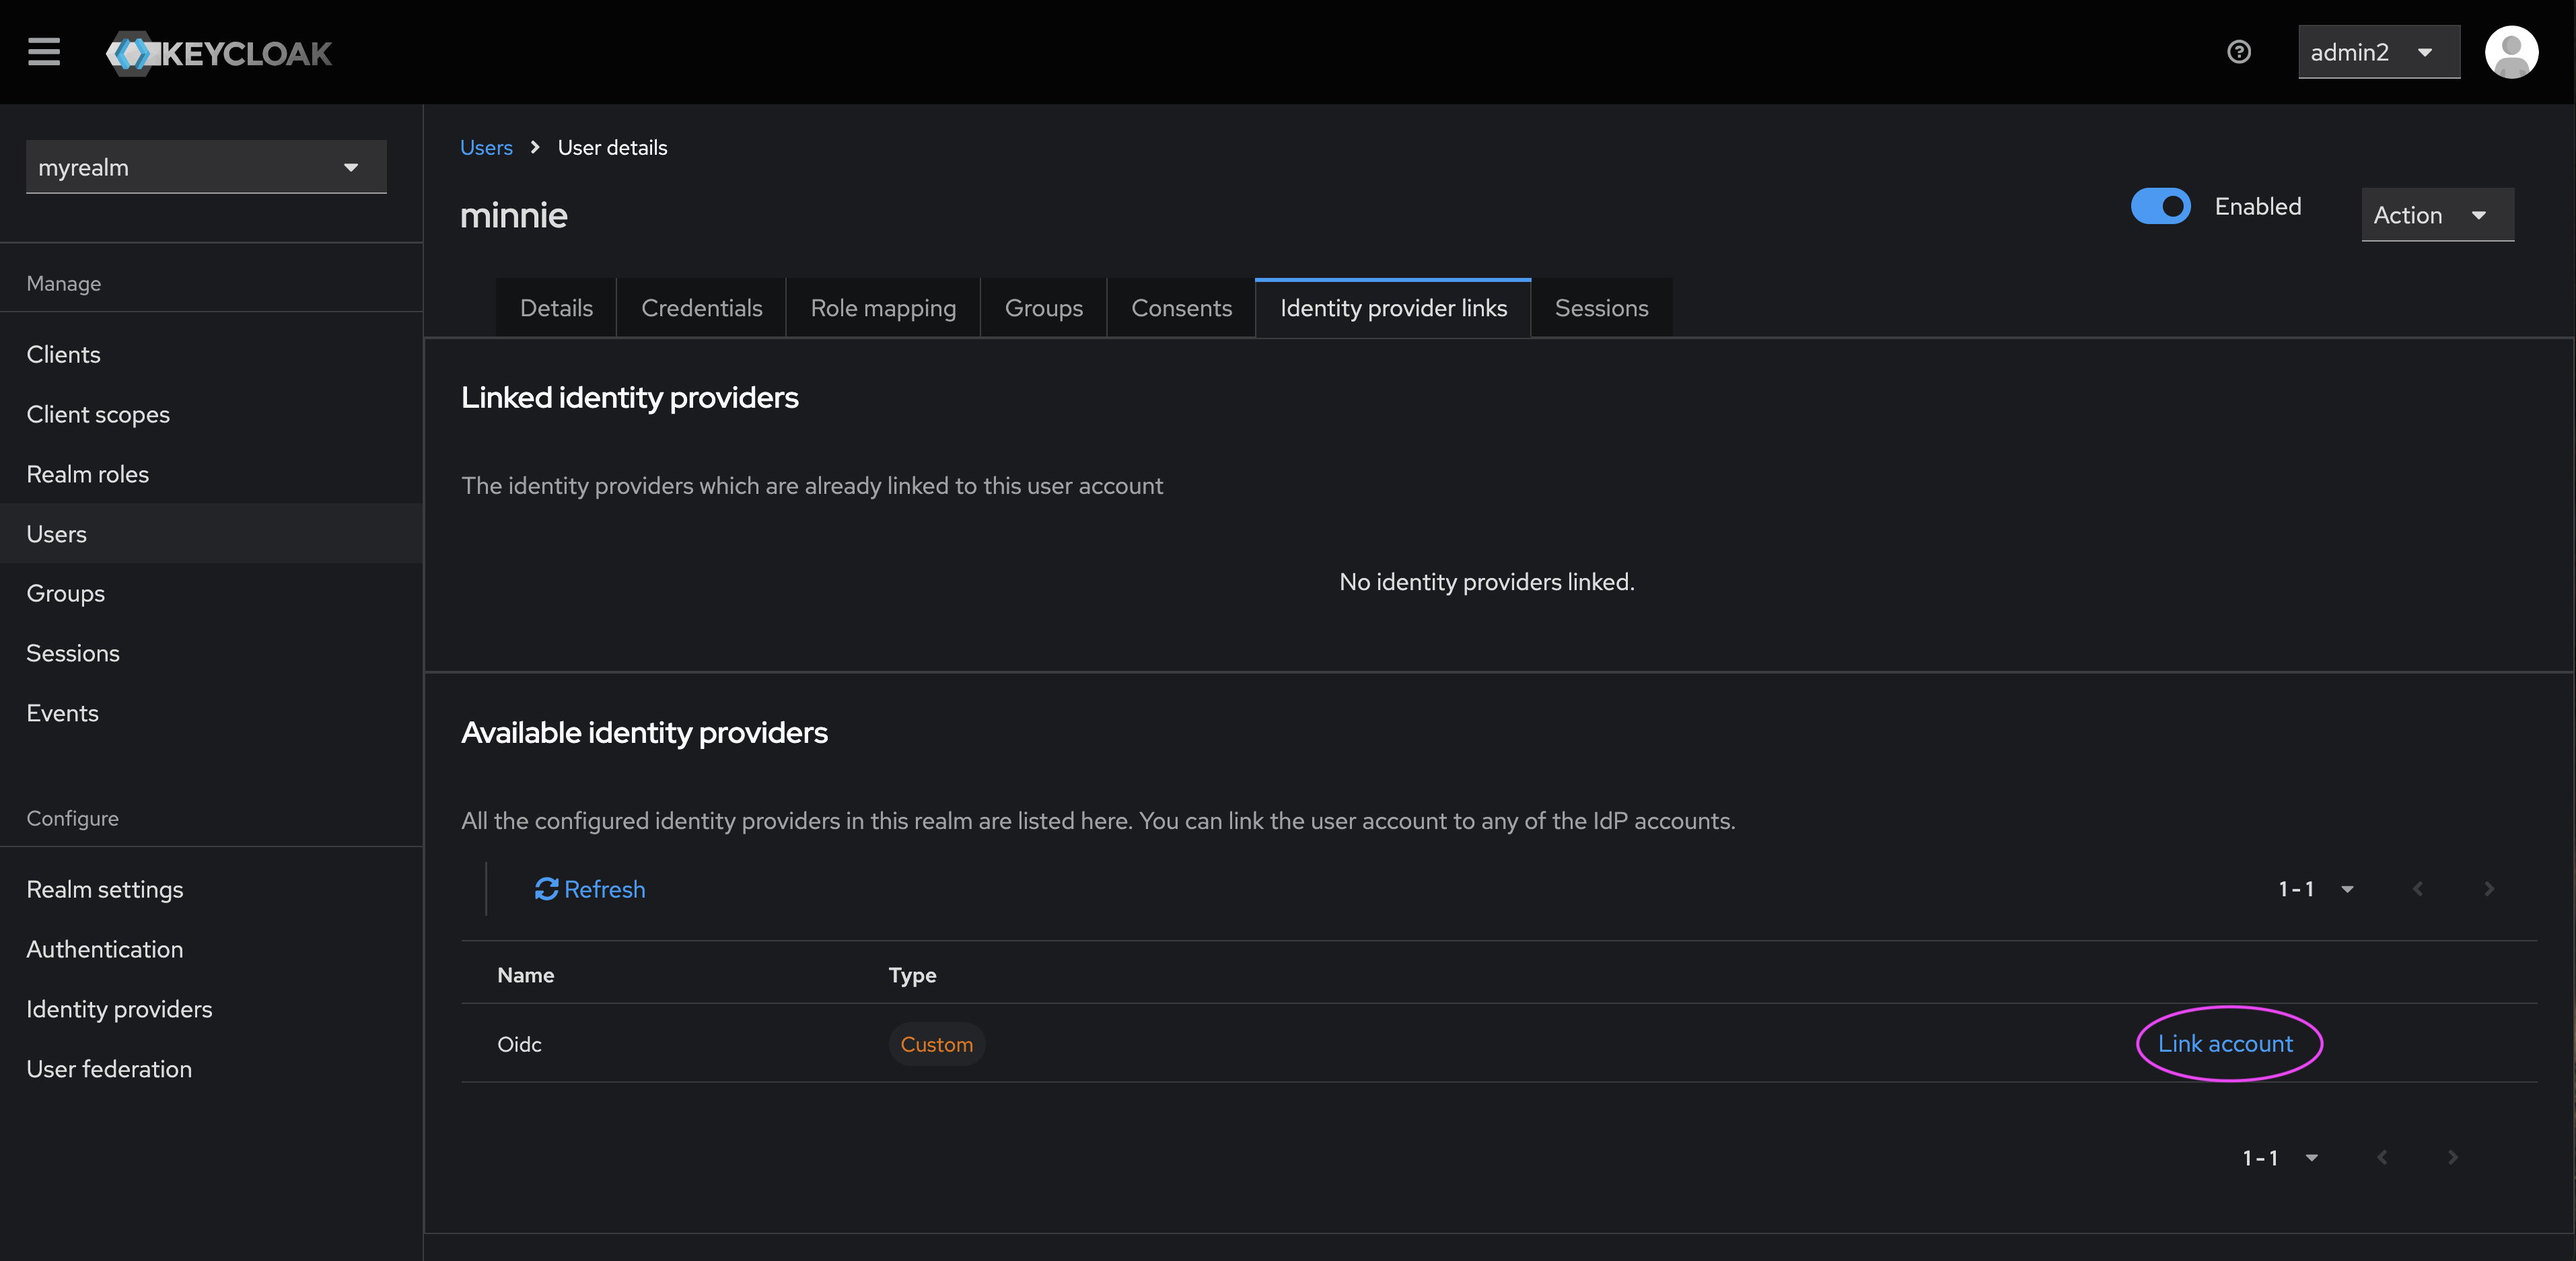
- Enter the user ID (from the User Details page) and username for the user account you wish to link.
- Click ‘Link’.
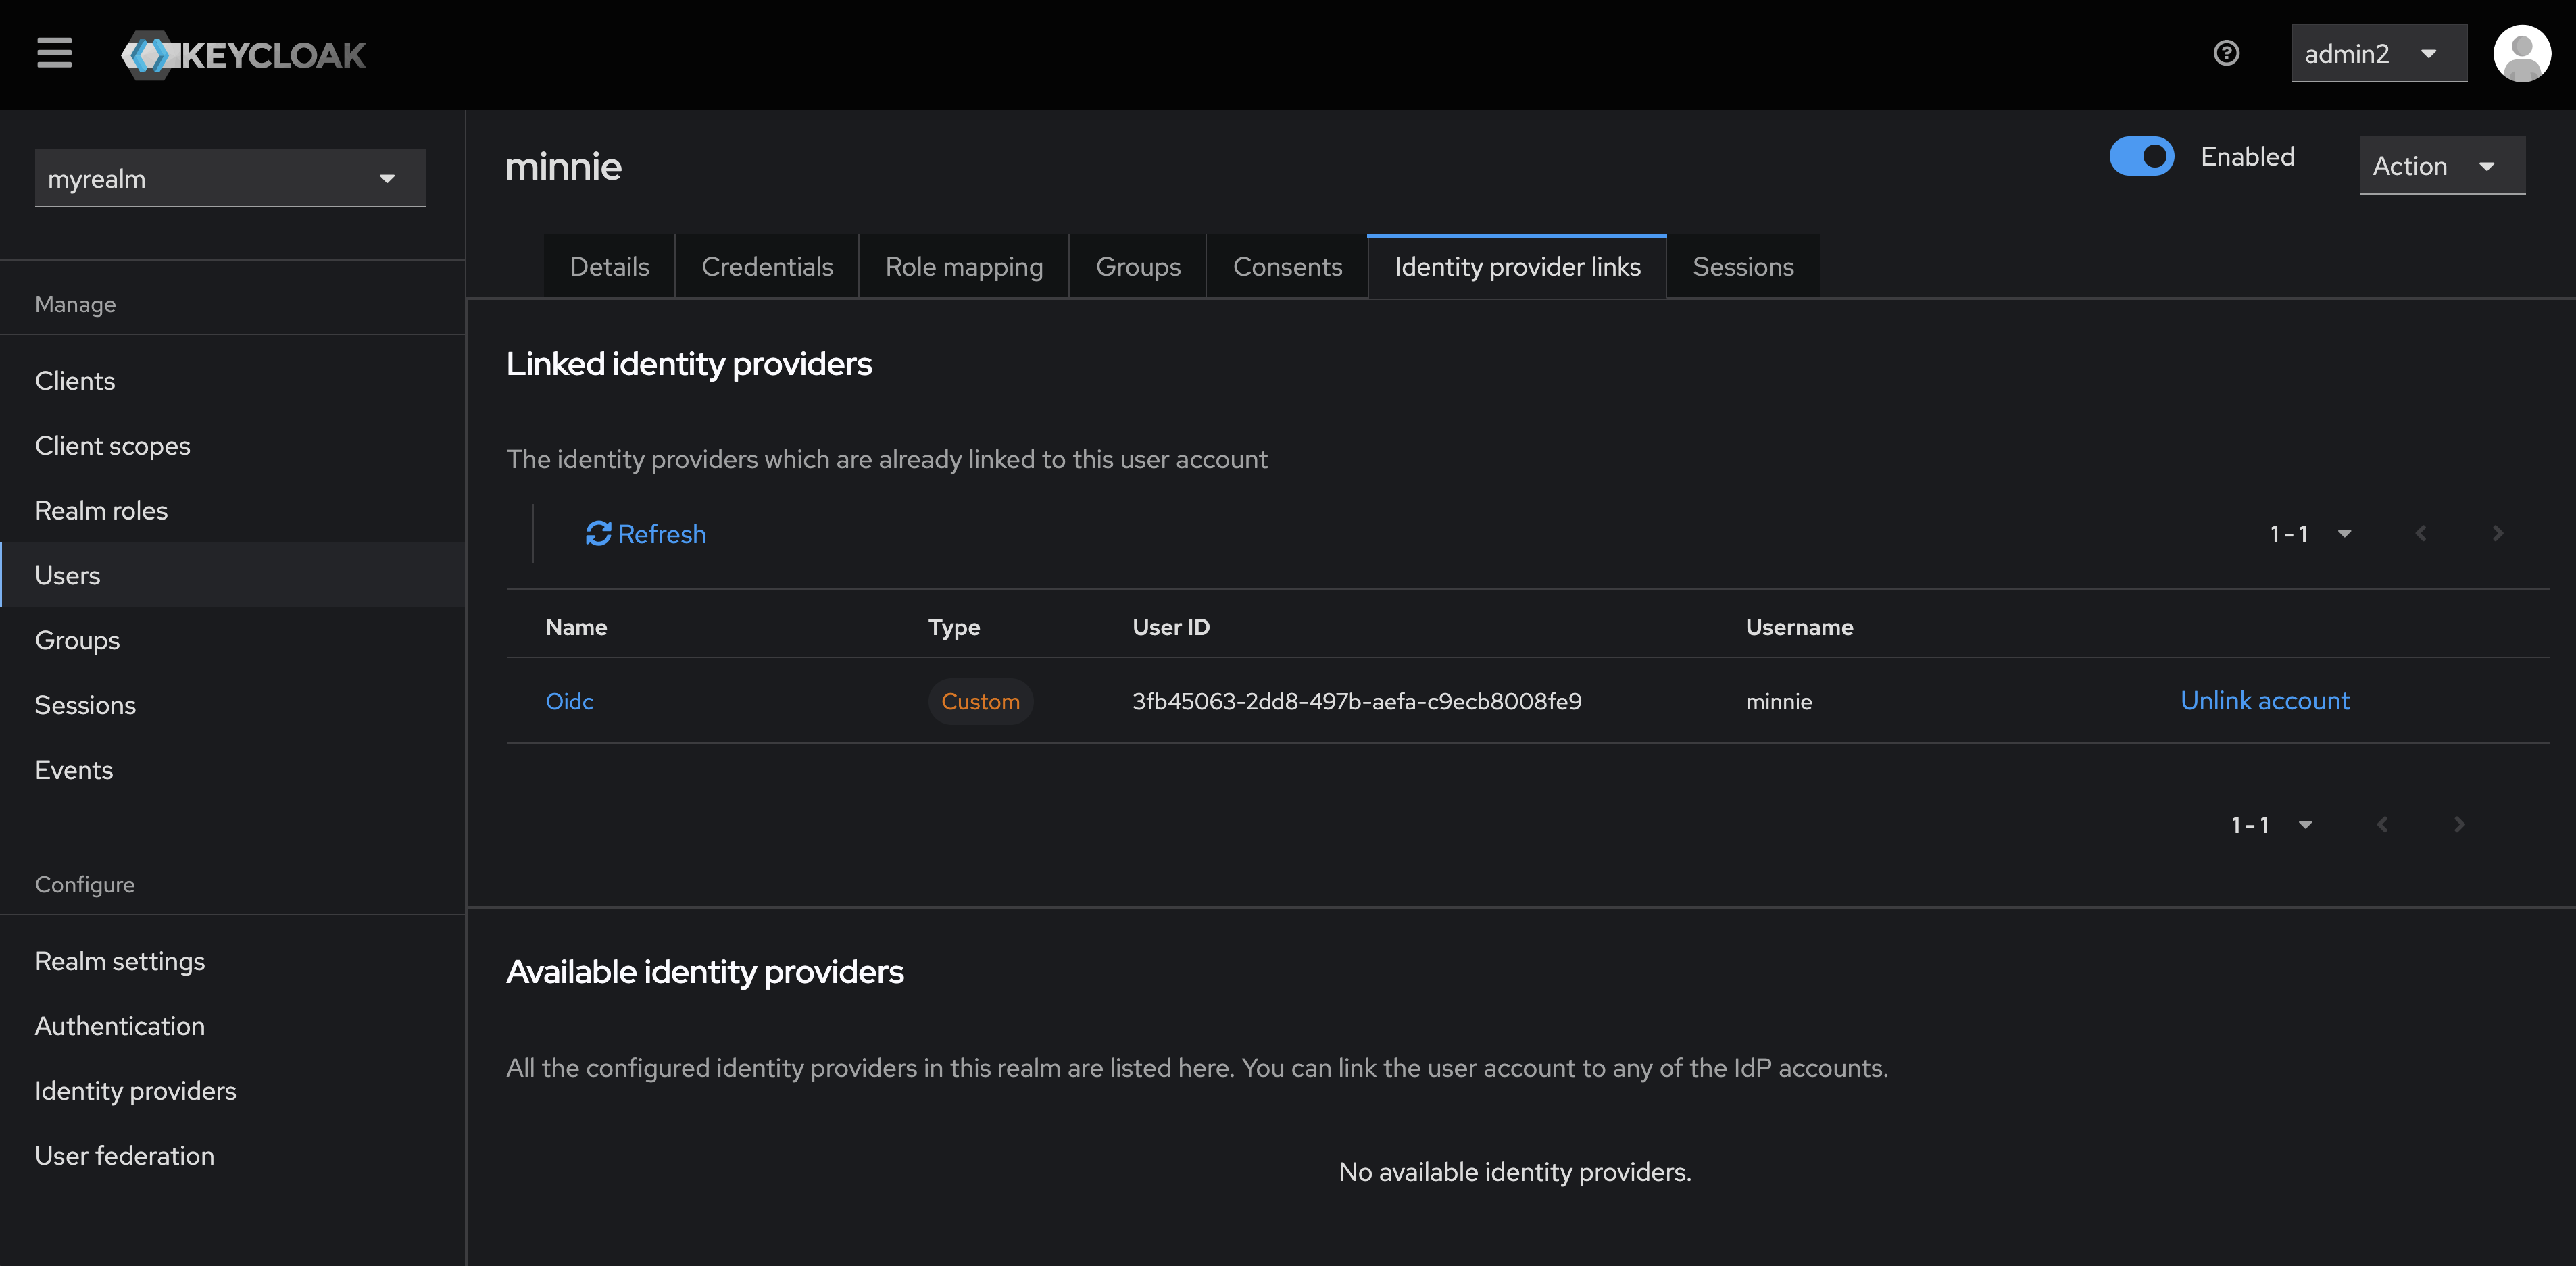
- You will see that the user account and the identity provider have now been linked.
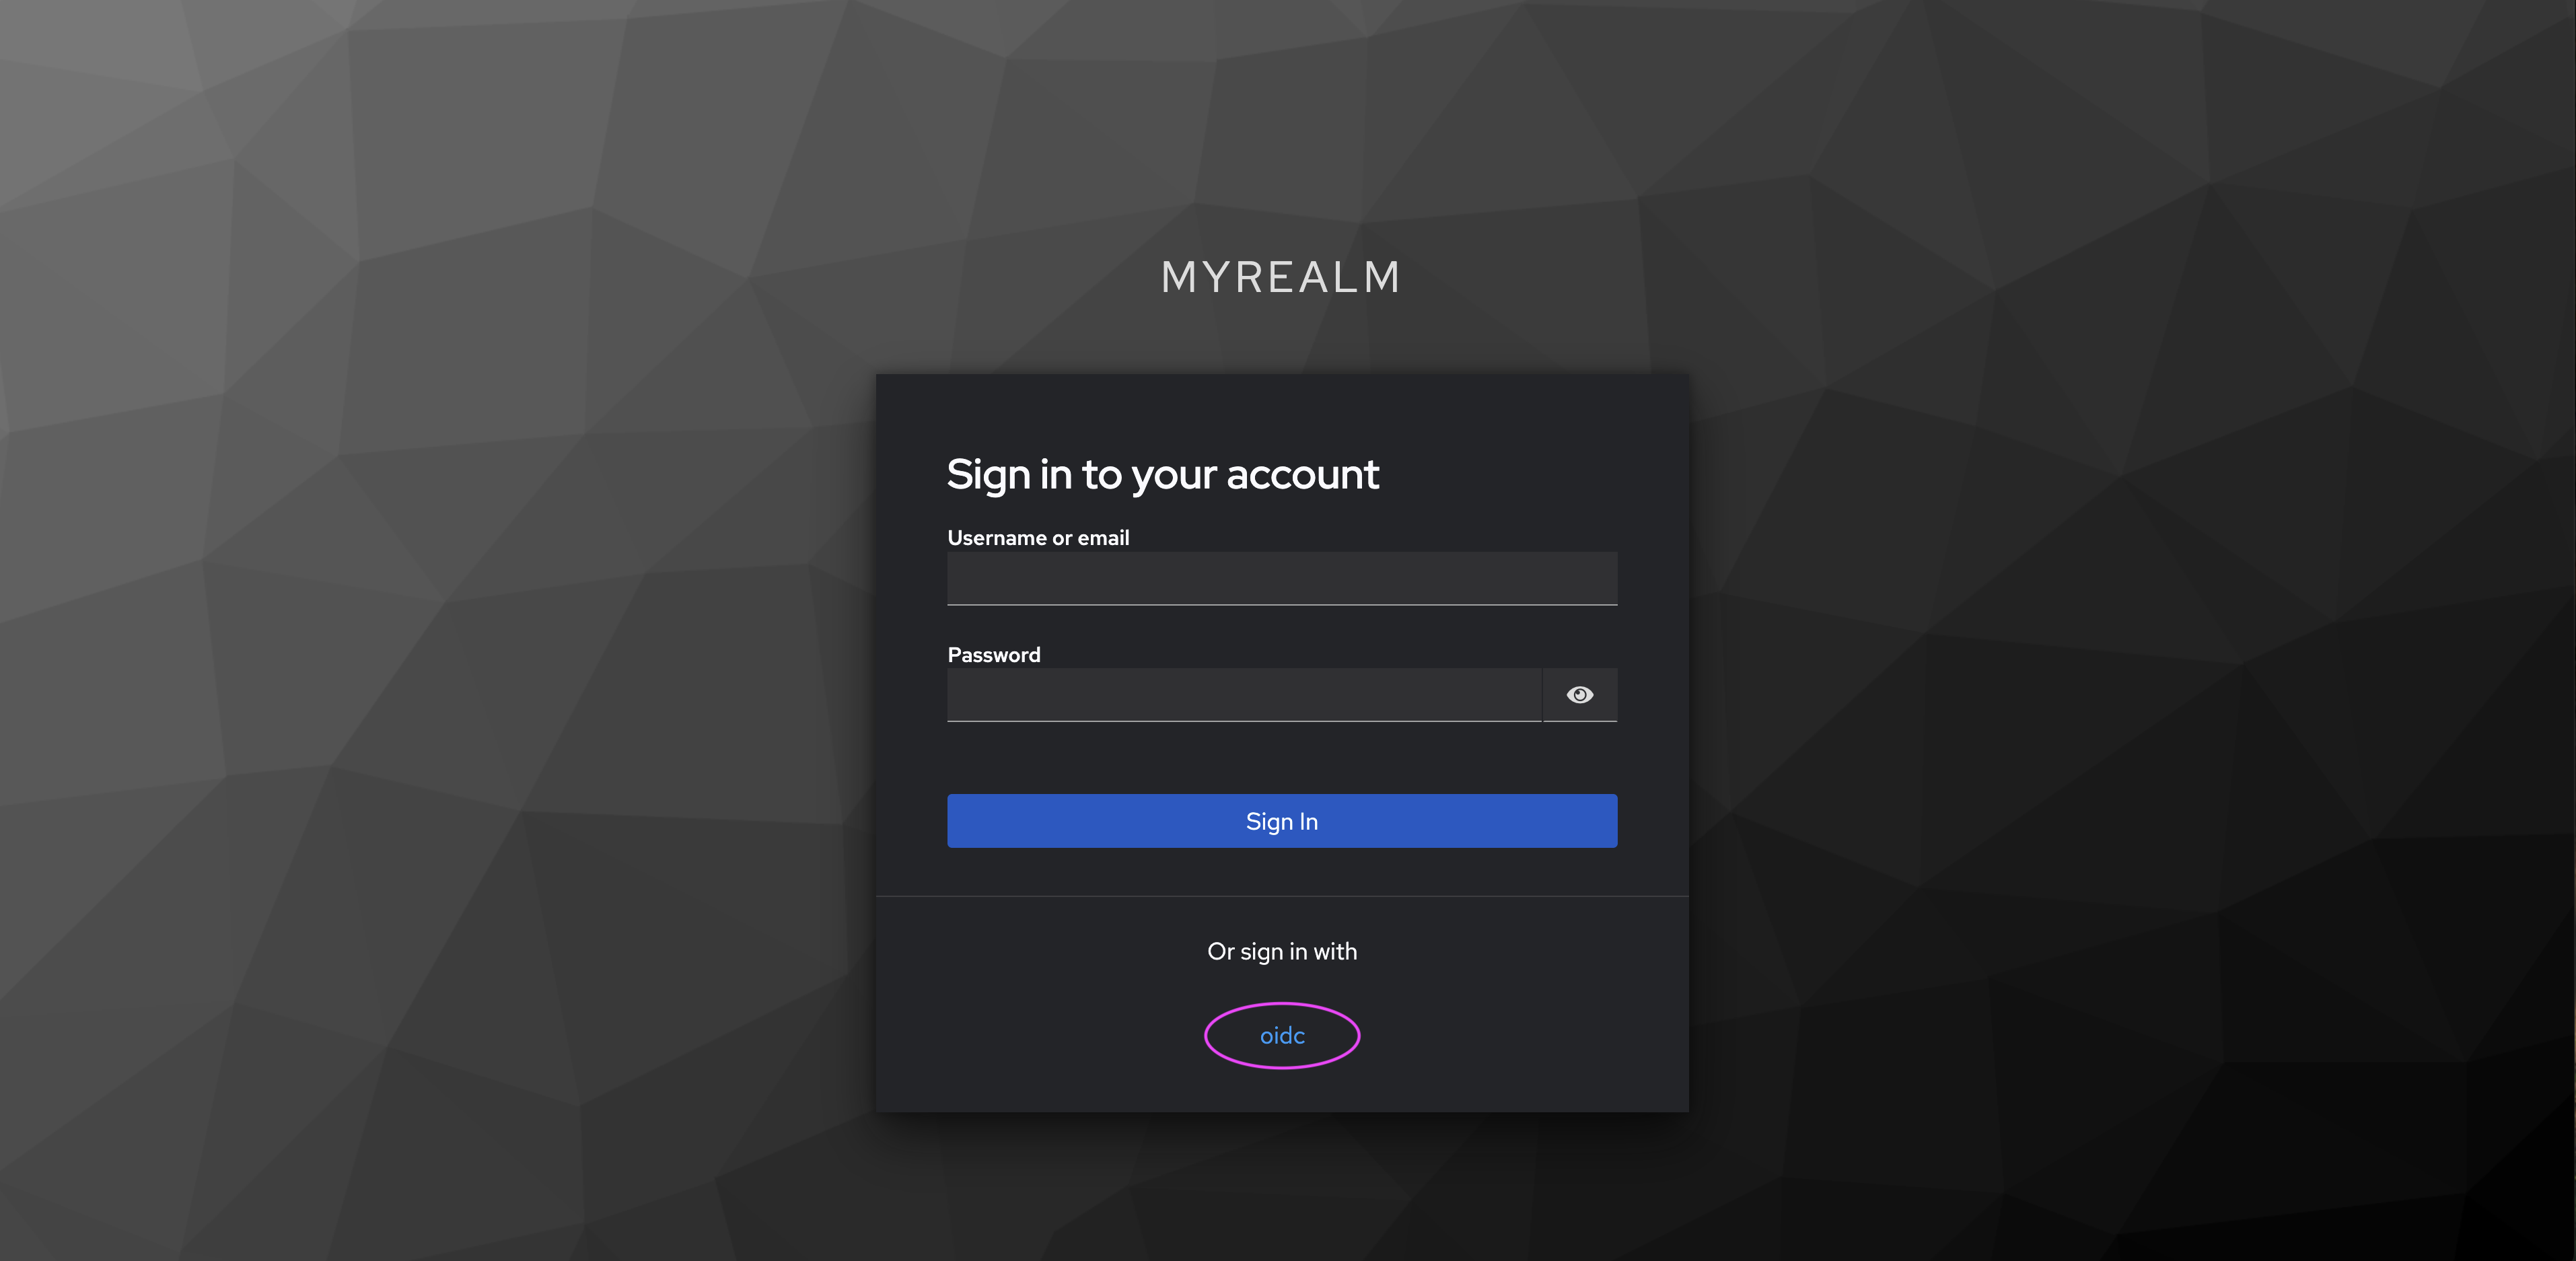
- When next signing in as a user (in this case,
http://localhost:8080/realms/myrealm/account), you will see the option to sign in with ‘oidc’ (or whateveraliasyou chose to identify your identity provider). - Click on ‘oidc’.
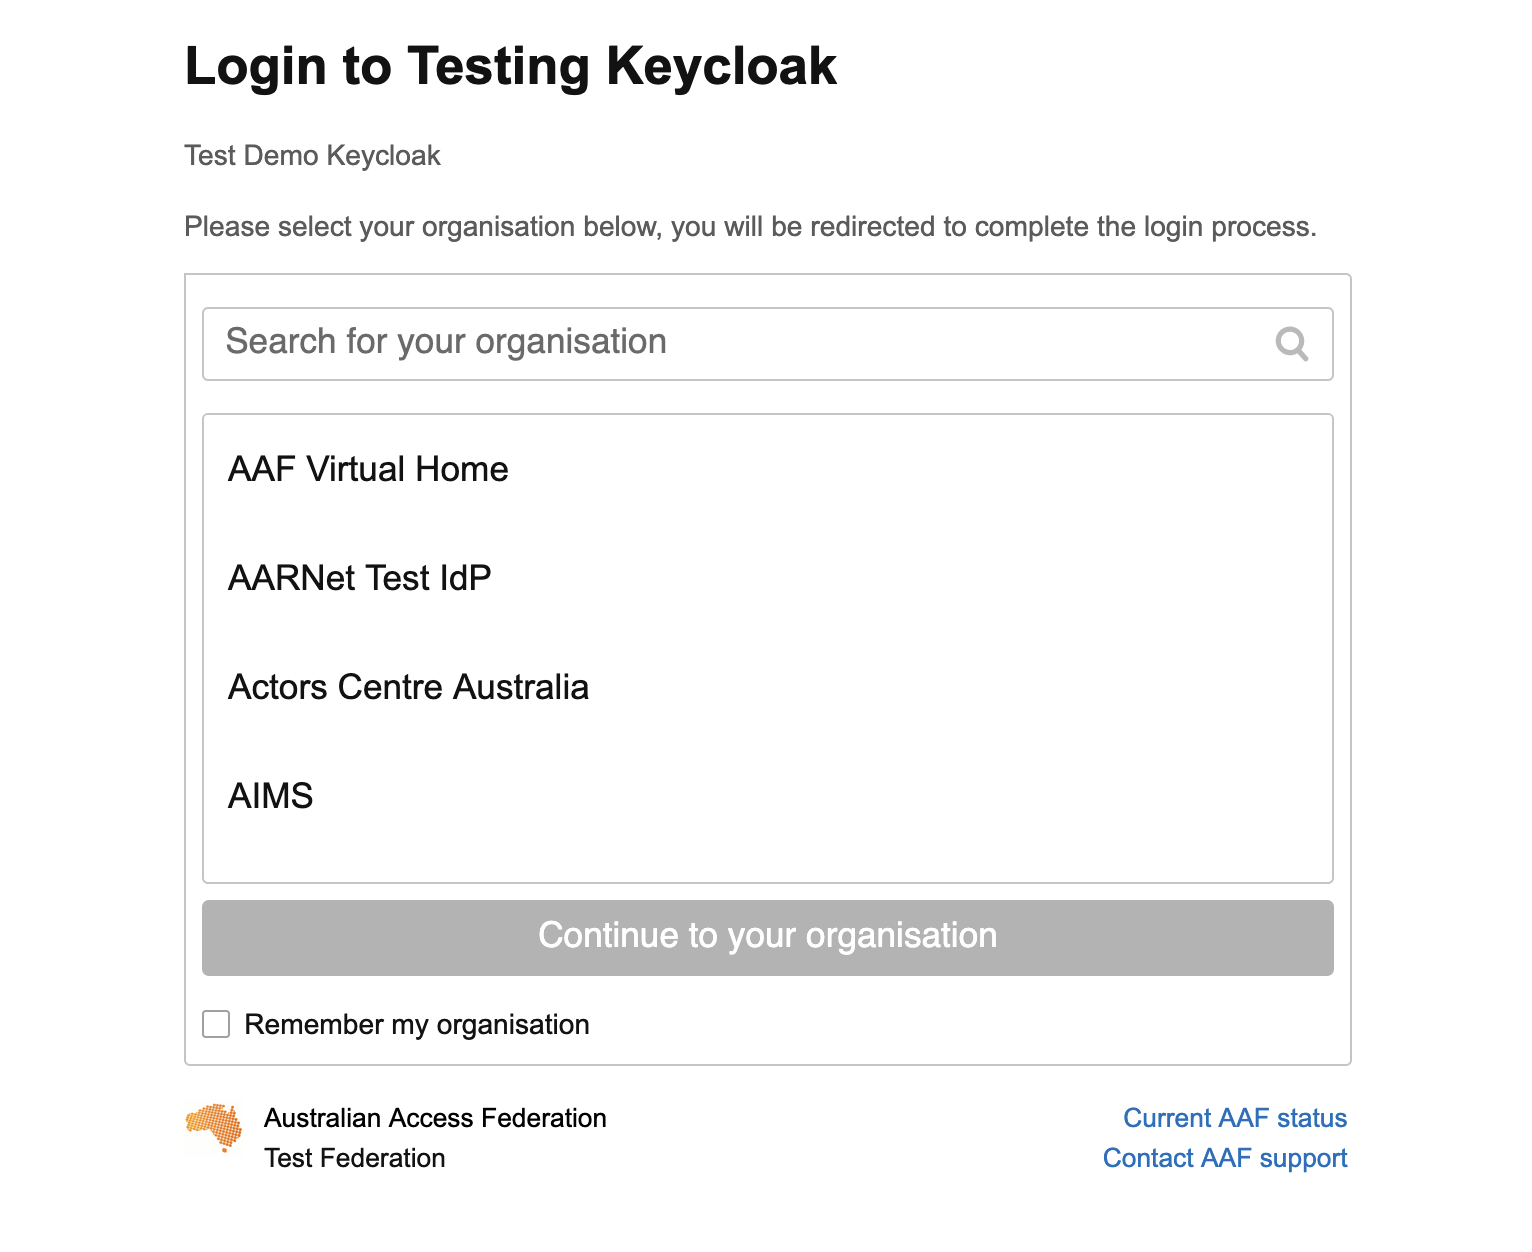
This will take you to the AAF Discovery Service (note that the name and description you provided when registering your service will appear here).
- Select your organisation from the list provided and click ‘Continue to your organisation’.
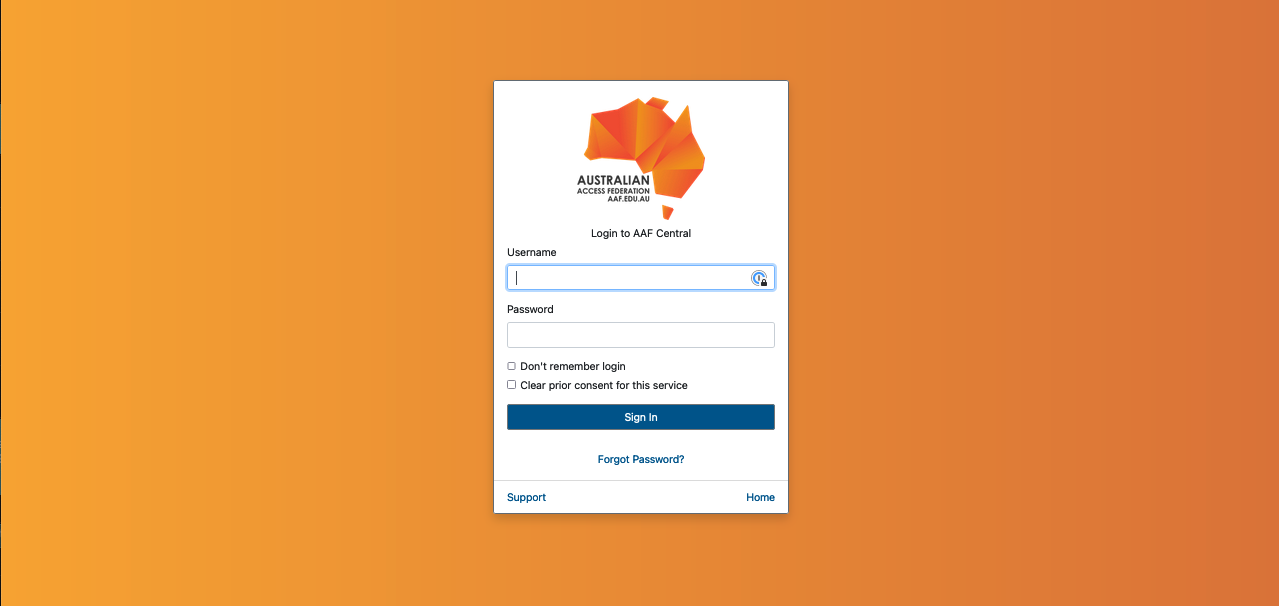
- You will be prompted to enter your username and password.
- Click ‘Sign in’.
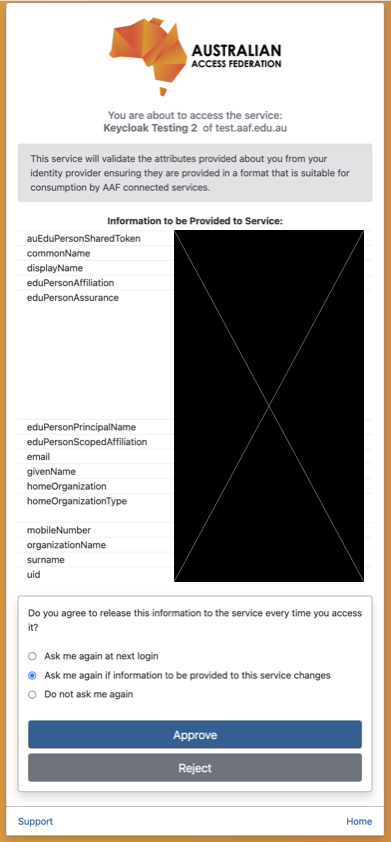
Your attributes will be displayed, and you will be asked to confirm that you wish to share these with the service you are logging into.
- Click one of the options and then click ‘Approve’.
- If authentication is successful, you will be taken back to your Keycloak account console.
